We have taken a traditional pumpkin pie recipe and created a paleo version. This paleo pumpkin pie recipe is easy to prepare and tastes delicious. We hope you enjoy it as much as we do with your family this holiday season.
Ingredients
3/4 cup coconut sugar
1 teaspoon ground cinnamon
1/2 teaspoon Himalayan pink sea salt
1/2 teaspoon ground ginger
1/4 teaspoon ground cloves
2 large eggs
1 can (15 oz.) Farmers Market Organic Pumpkin
1 can (12 fl. oz. Nature’s Charm Evaporated Coconut Milk
1 unbaked 9-inch Gluten-Free Pie Crust
Cocowhip or Coconut Milk Whipped Cream (optional)
Instructions
PREHEAT oven to 425° F
MIX coconut sugar, cinnamon, Himalayan pink sea salt, ginger, and cloves in a small bowl. Beat eggs in a large bowl. Stir in pumpkin and sugar-spice mixture. Gradually stir in evaporated coconut milk.
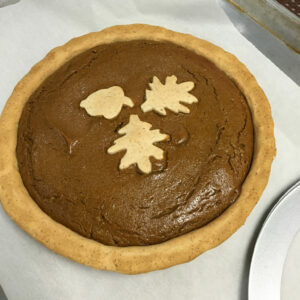
POUR paleo pumpkin pie filling into pie shell.
BAKE pie in preheated 425° F oven for 15 minutes. Reduce temperature to 350° F. Continue baking for 40 to 50 minutes or until knife inserted near center of paleo pumpkin pie comes out clean. Cool paleo pumpkin pie on a wire rack for 2 hours. Serve immediately or refrigerate.
OPTIONAL Top paleo pumpkin pie with whipped coconut cream or cocowhip before serving.
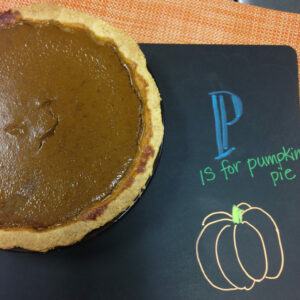
ENJOY with your friends and family. Happy Holidays!
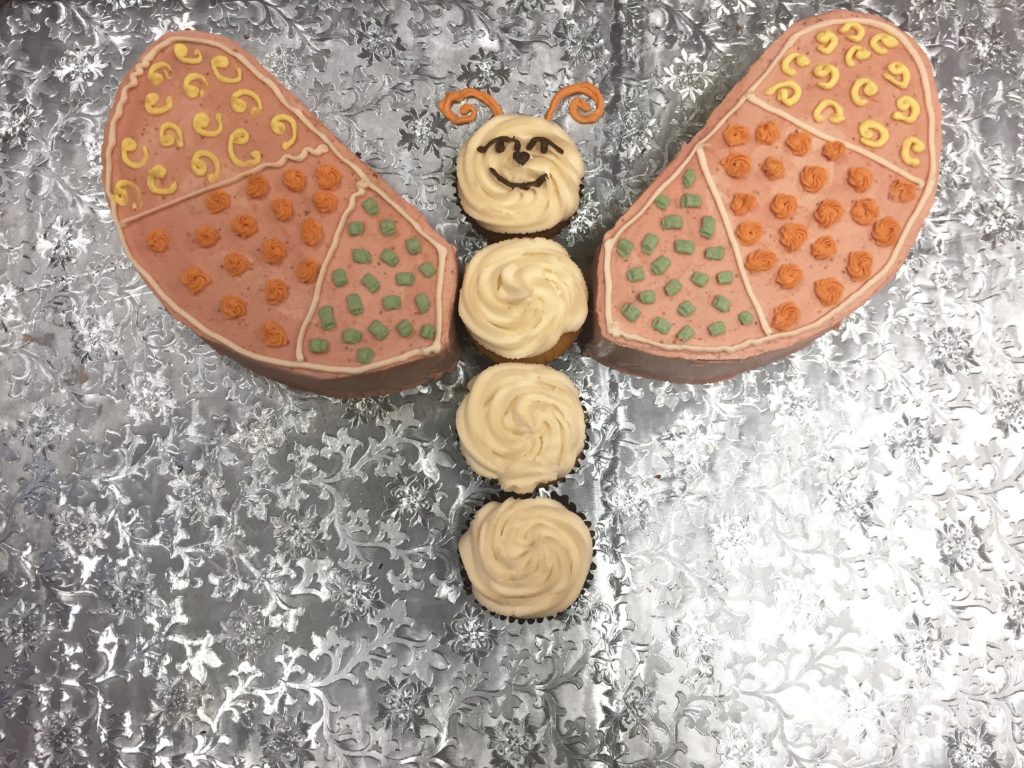
Every little girl loves a custom birthday cake. Today we created a tutorial for an easy custom paleo butterfly cake perfect for a little girls birthday, Easter, or spring event. We’ve included some suggested paleo recipes for the cake and frosting. We hope you have fun creating a custom paleo butterfly cake.
Icing (this recipe is a good choice. Trucolor is the all natural food color we use for all our frosting.
Scissors
Parchment paper
Piping tips: round tip, star tip, flat tip
Piping bag
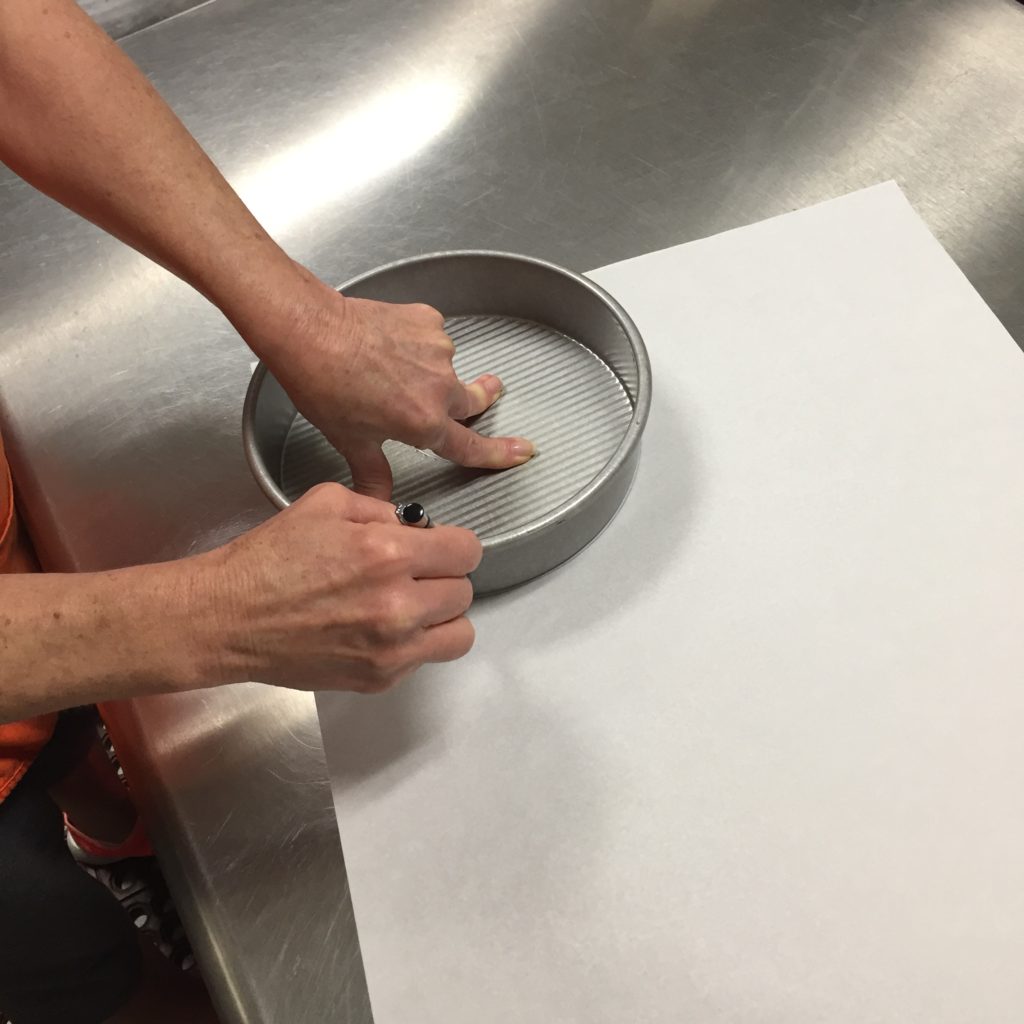
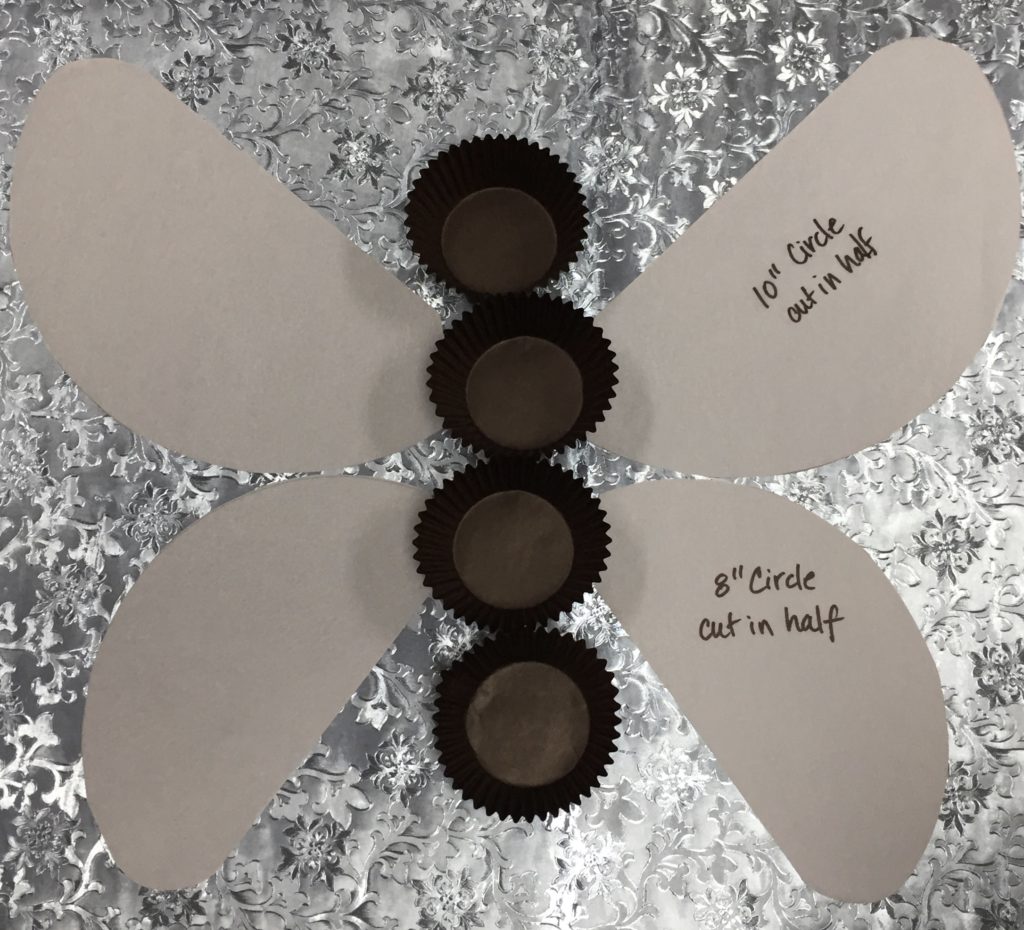
Step 1: Create Stencils
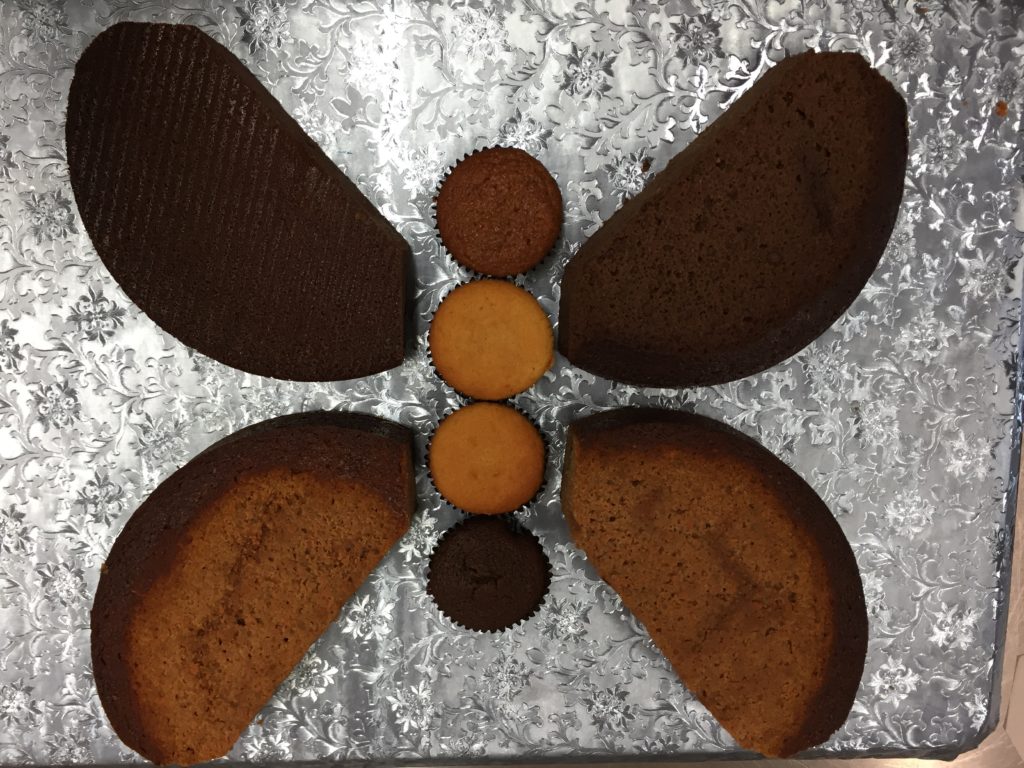
Create stencils with parchment paper by tracing a 9” cake pan. Cut out the circle and cut in half. Overlap the 2 halves and shape the corners for the wings to create the shape of the butterfly cake.
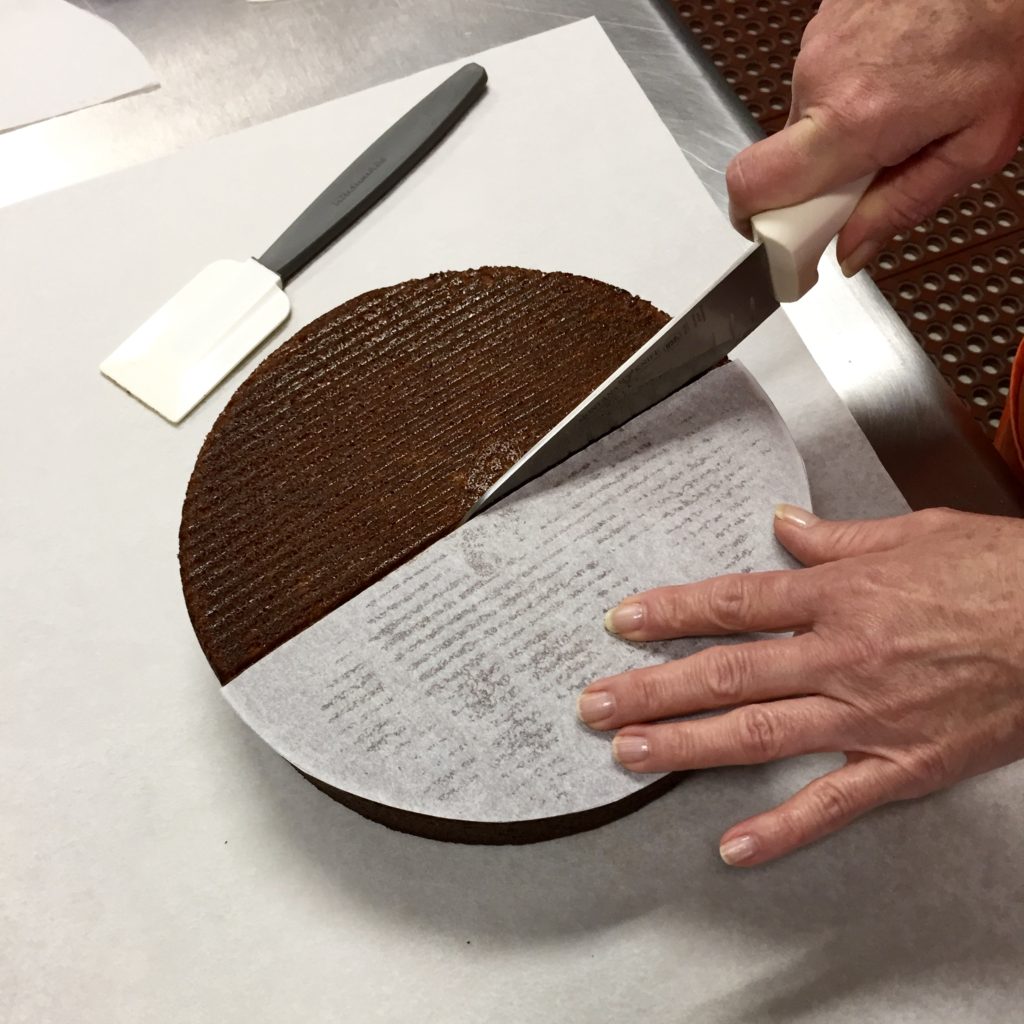
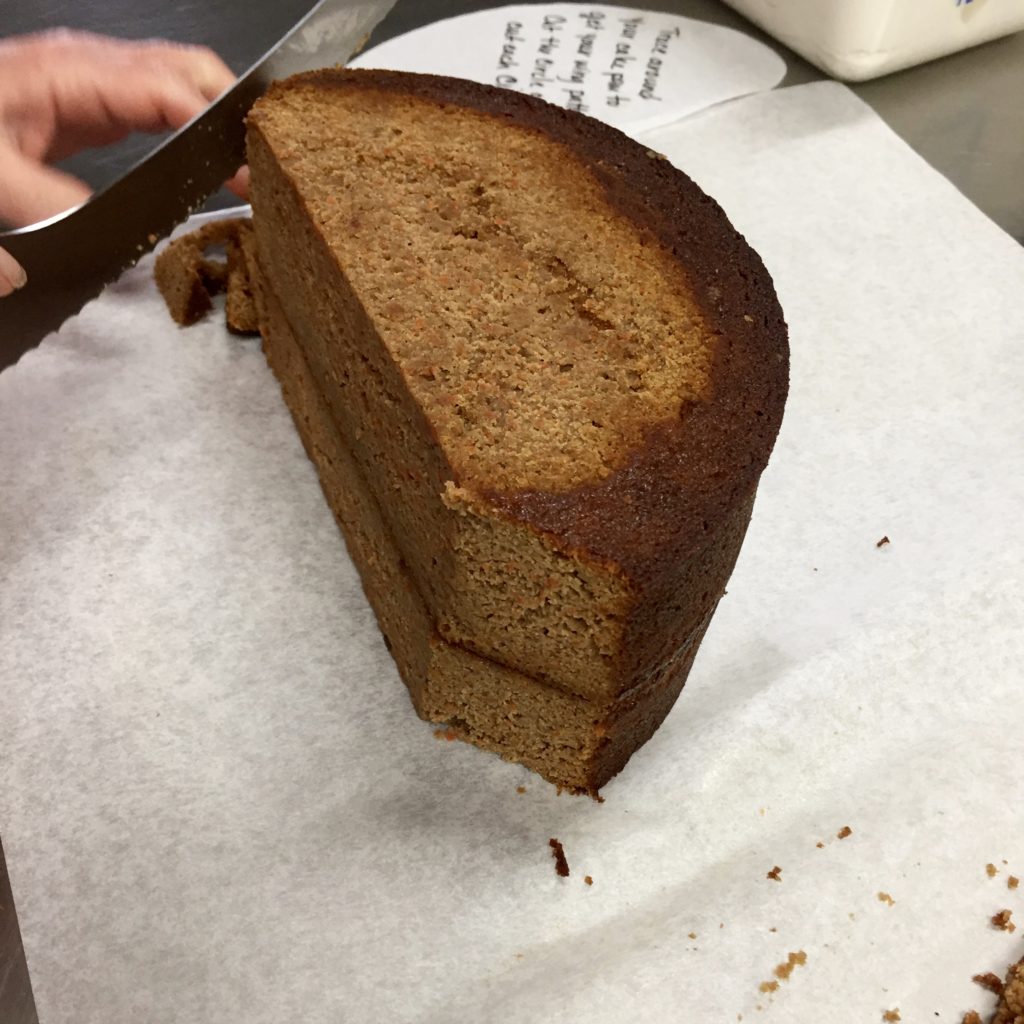
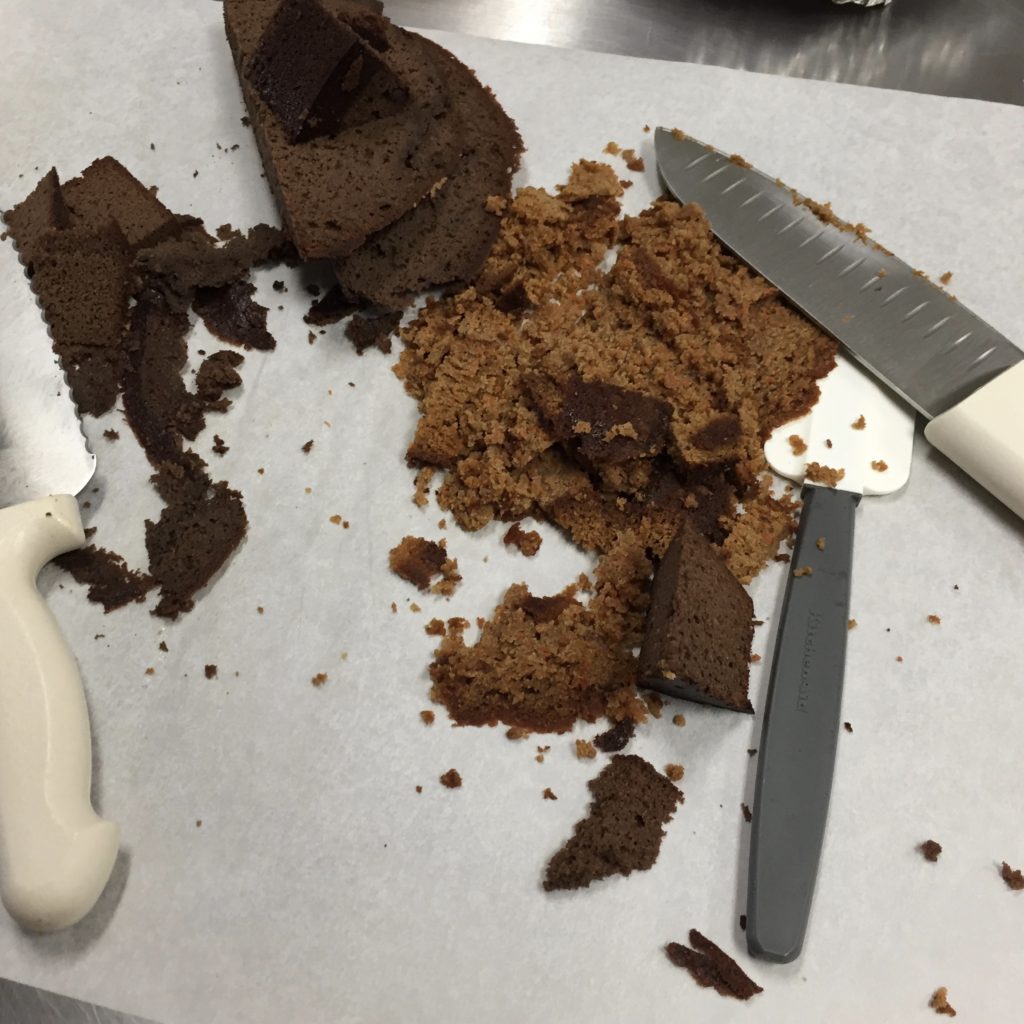
Step 2: cut the cake
Cut each 9” round cake in half. Trim the top of each cake flat and set that side down.
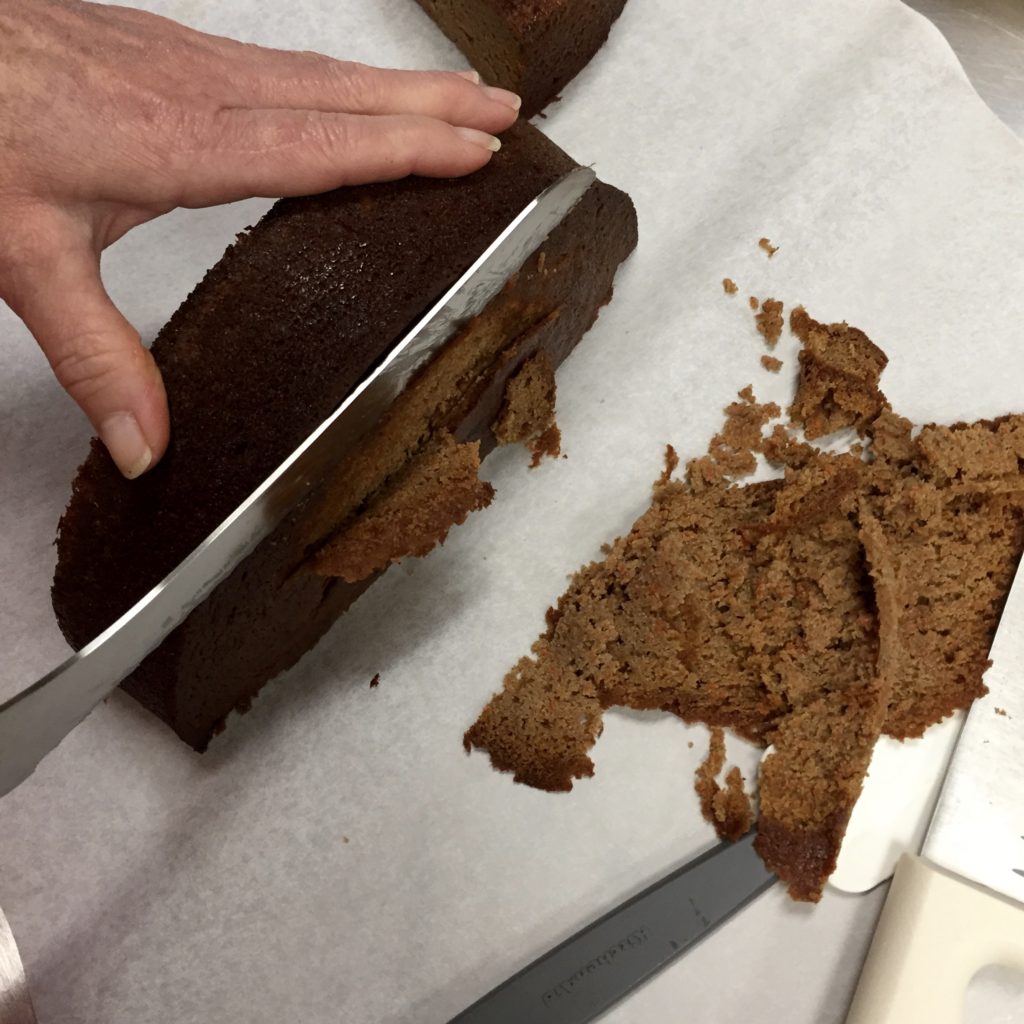
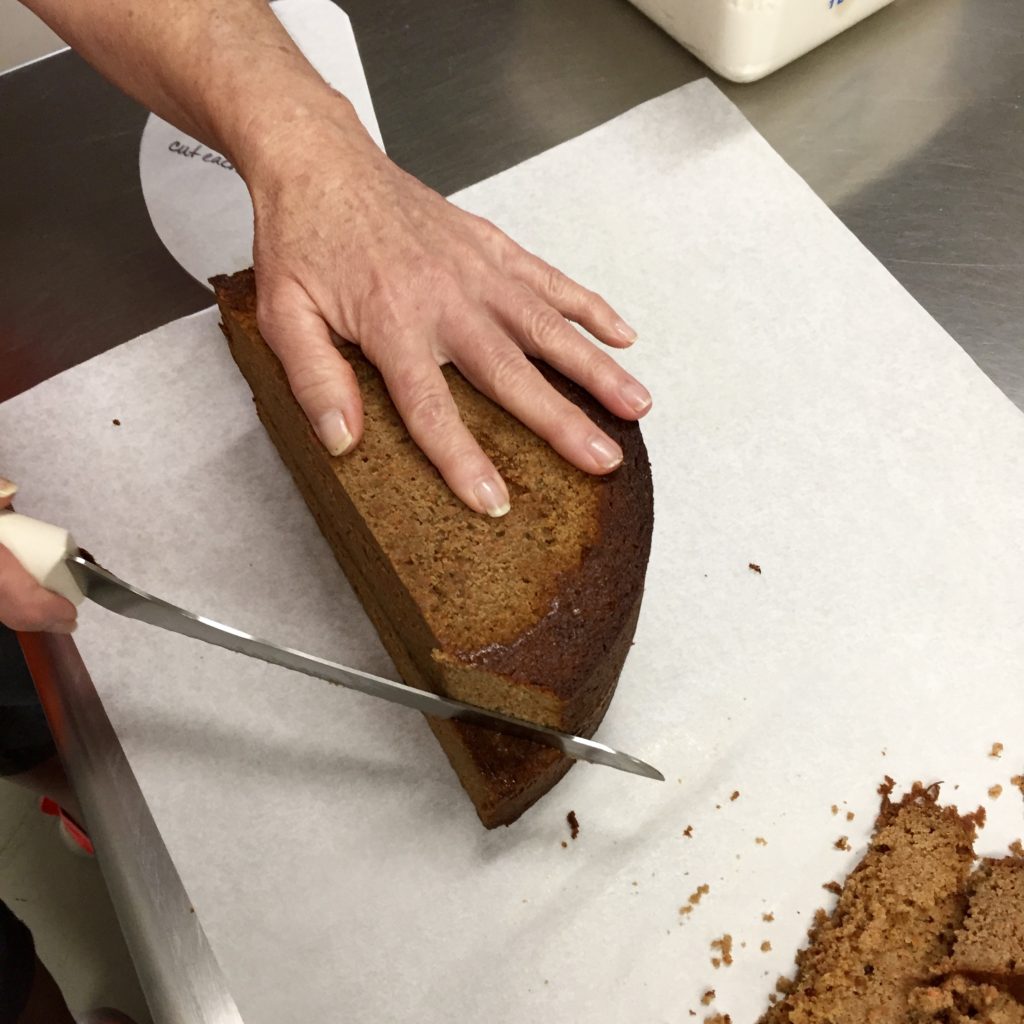
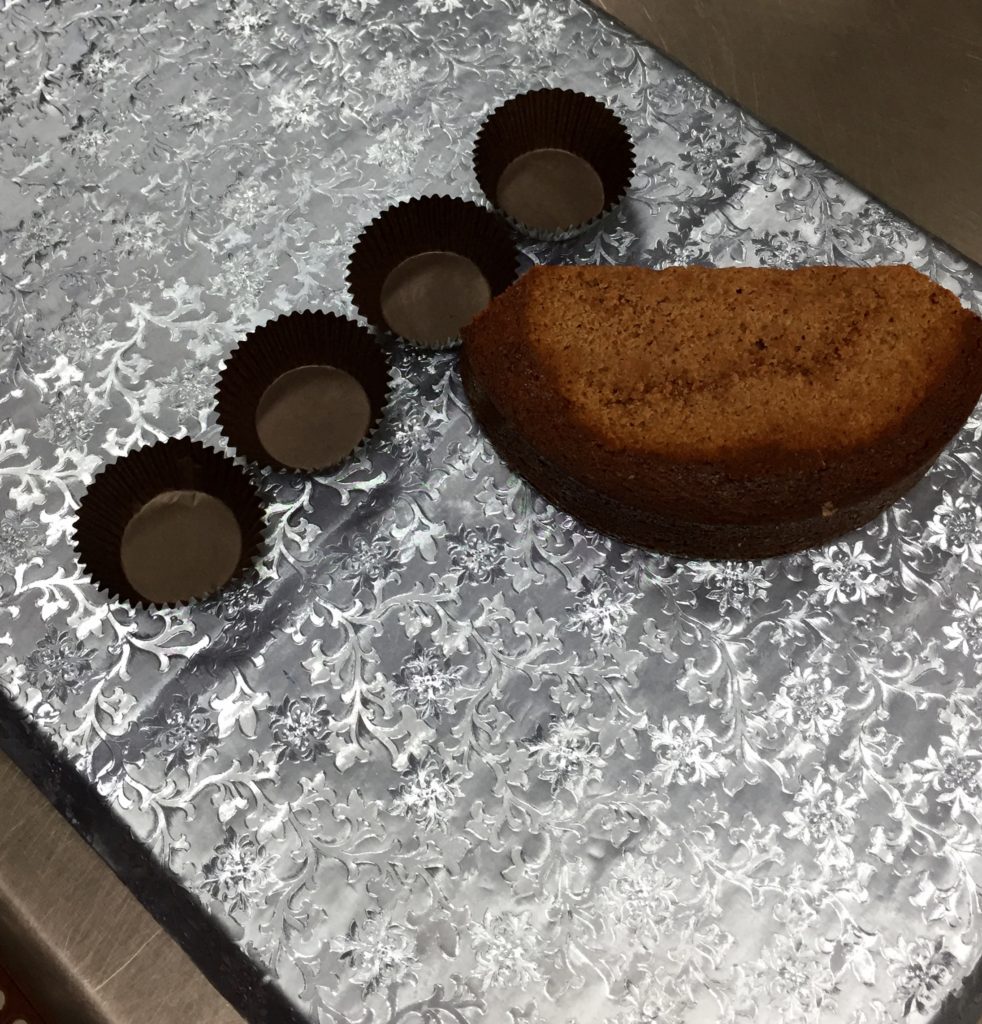
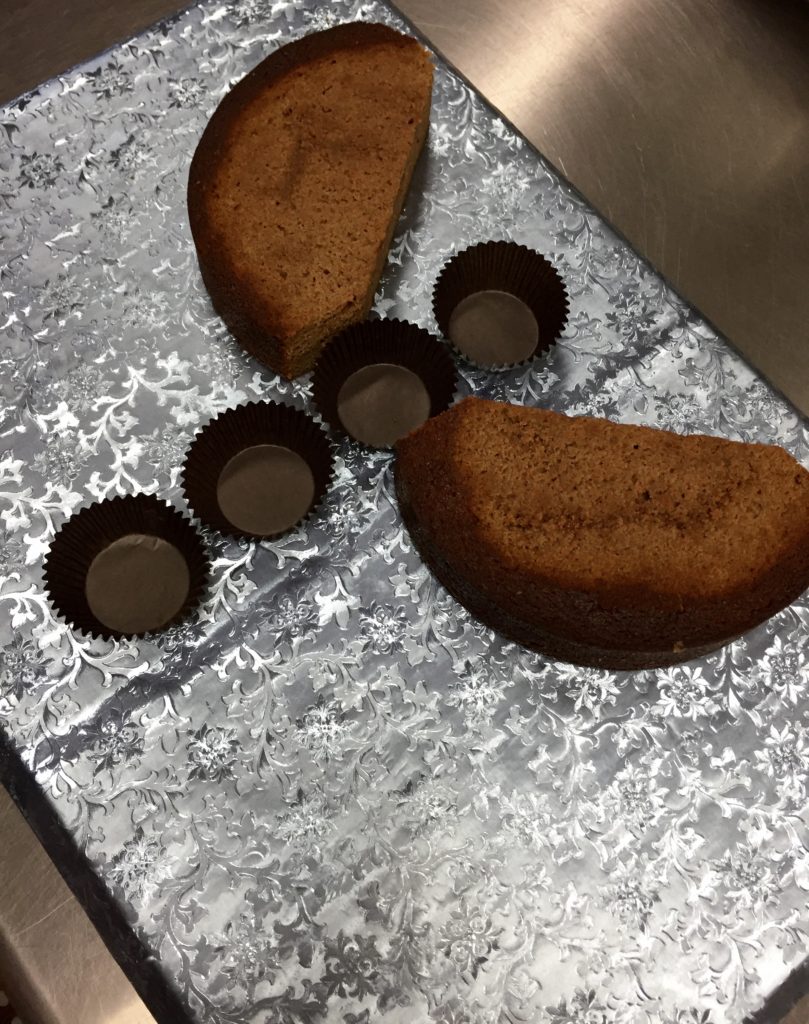
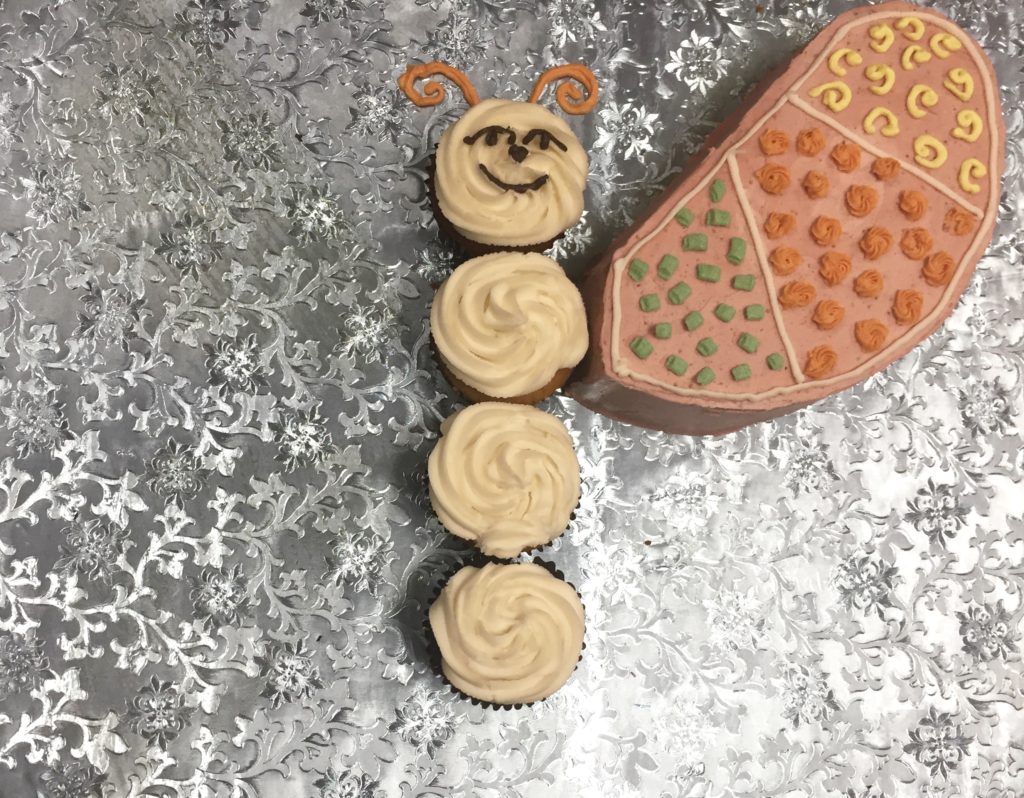
Step 3: Trim the cake
Stack the two halves on top of one another and cut one set of corners off where they will sit next to the body then round the other corners to look like butterfly wings (use the stencils you made if you need some help with this step). Do this for the top set of wings and bottom set of wings.
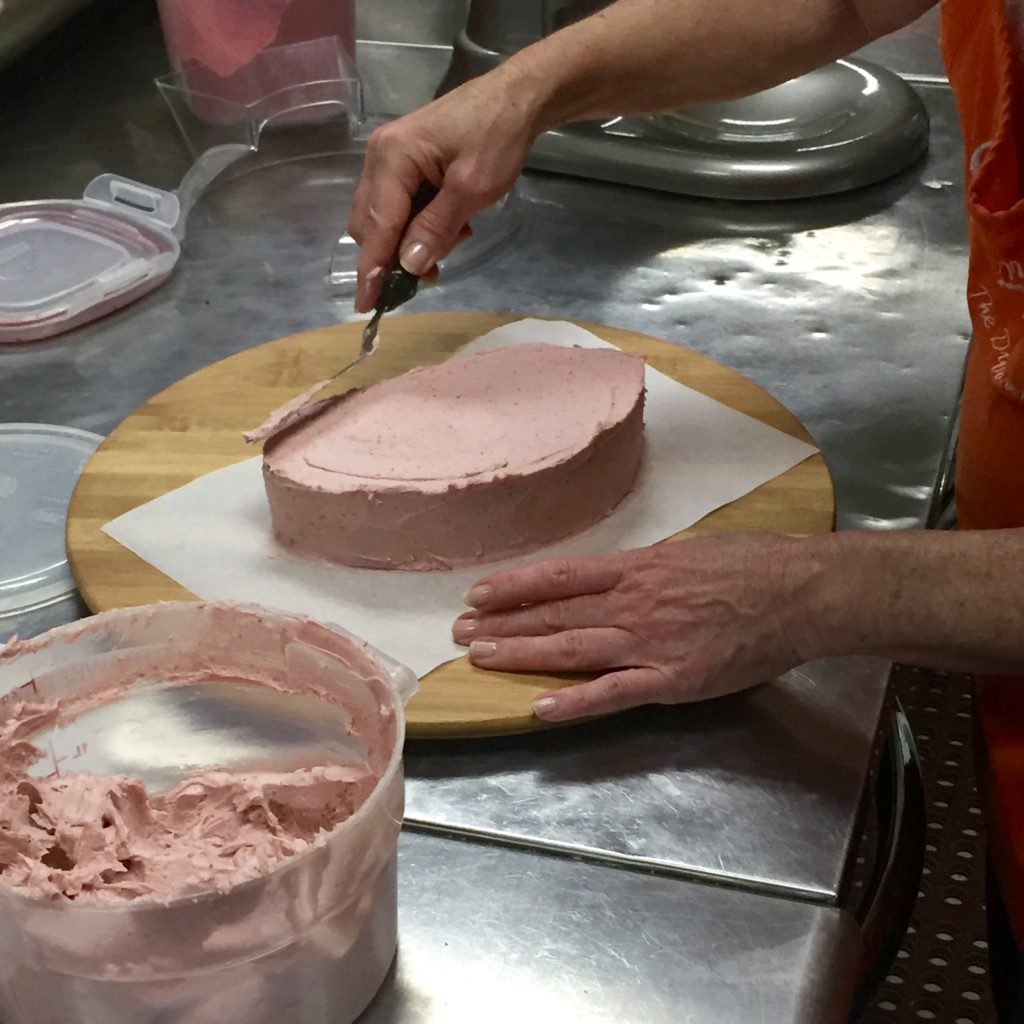
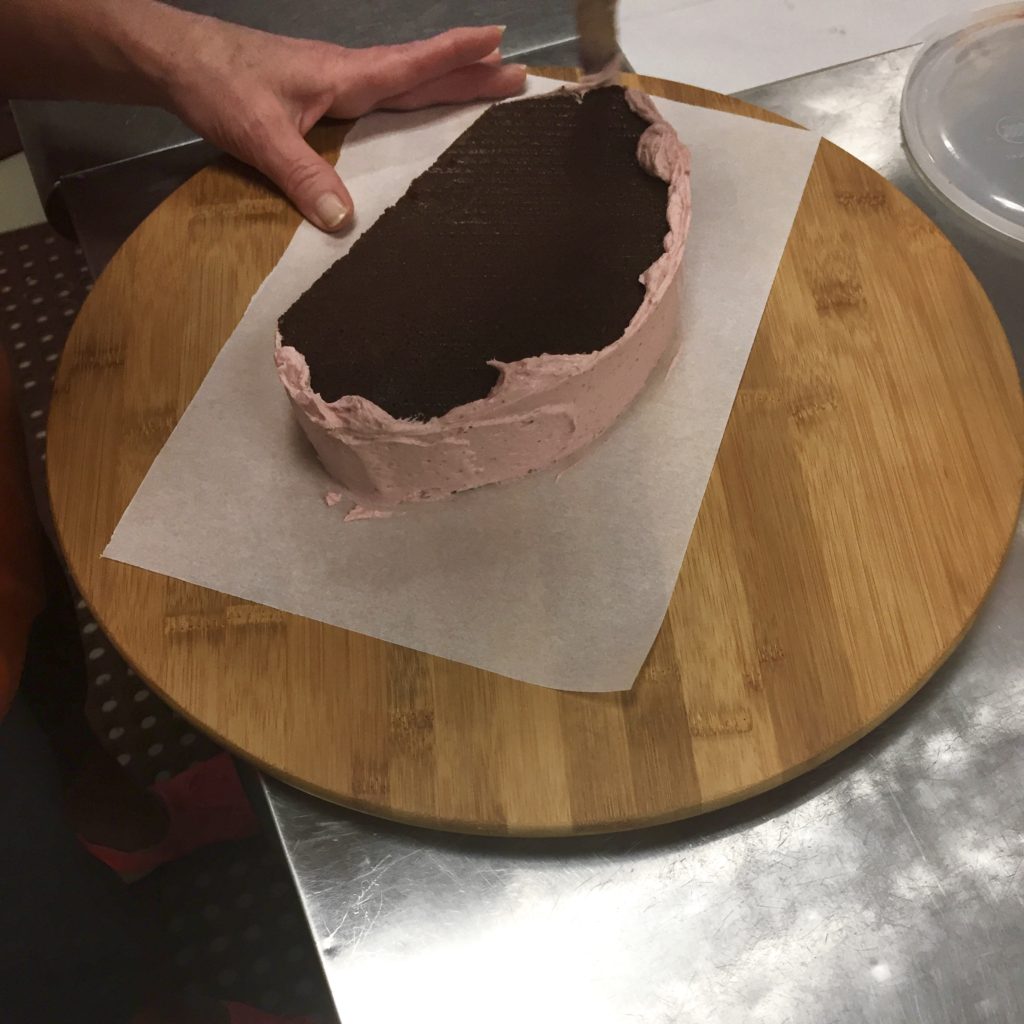
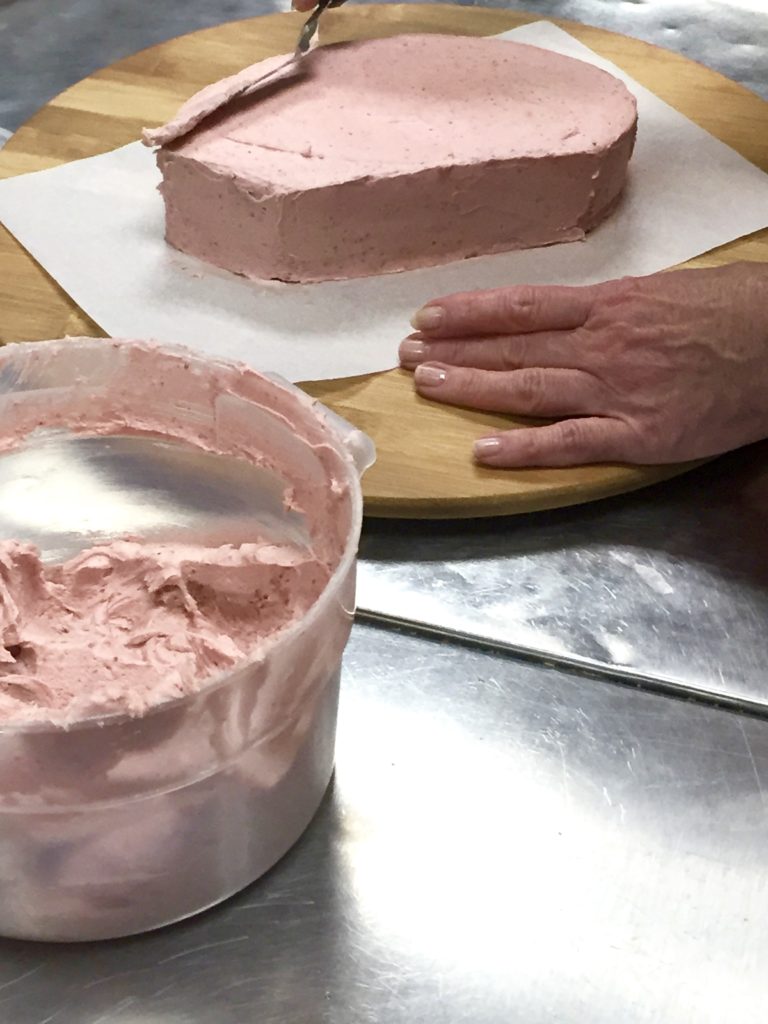
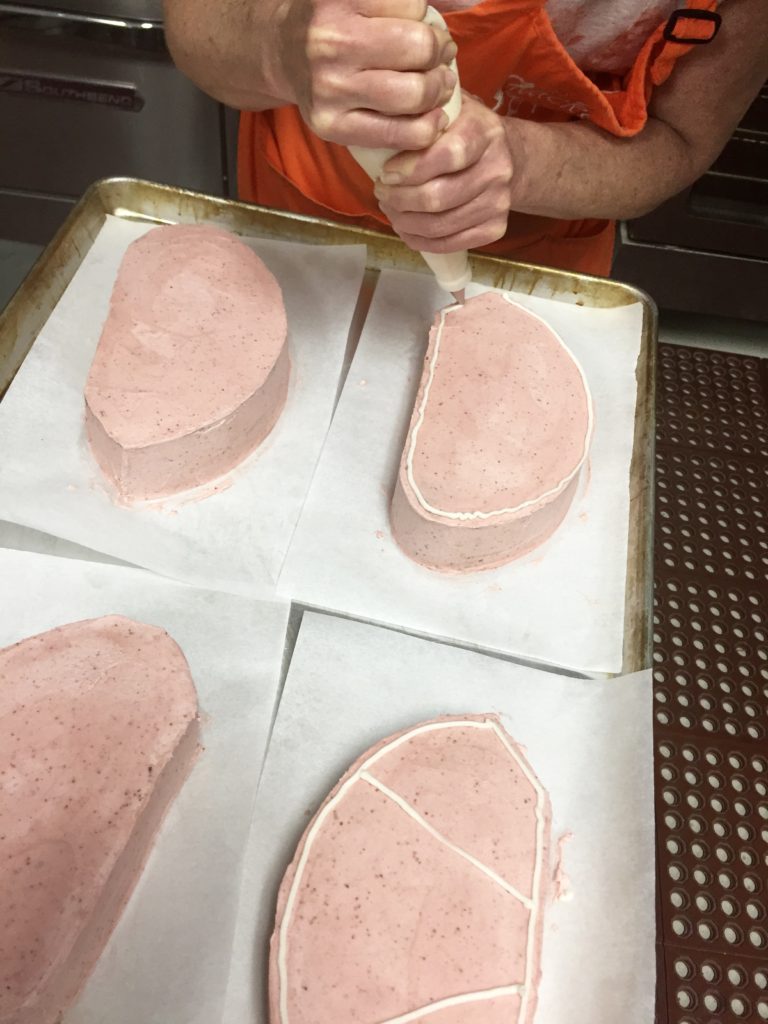
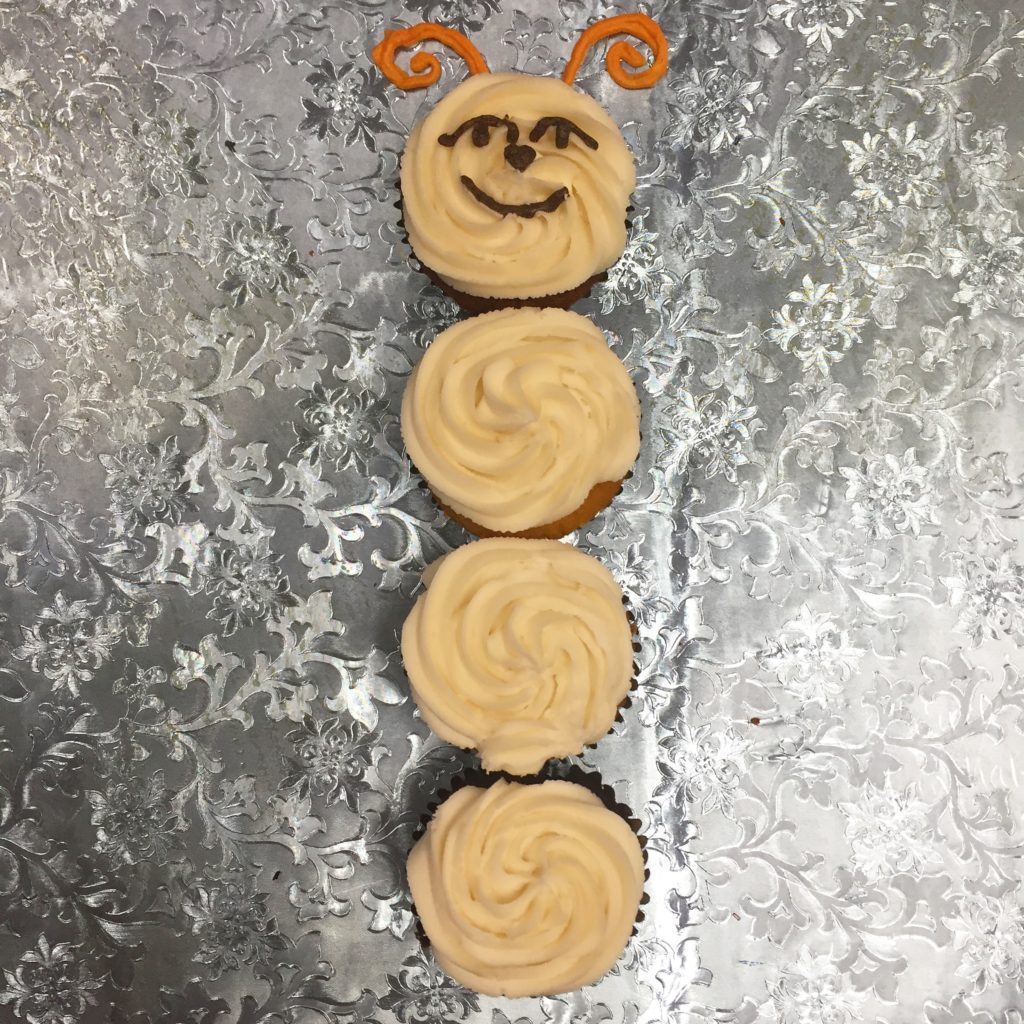
Step 4: icing the cakes
Tint some of the frosting to ice the wings of the butterfly cake. Ice each piece of cake with the color frosting of your choice we choose pink. Also ice the cupcakes that will be used as the body of the butterfly we choose white.
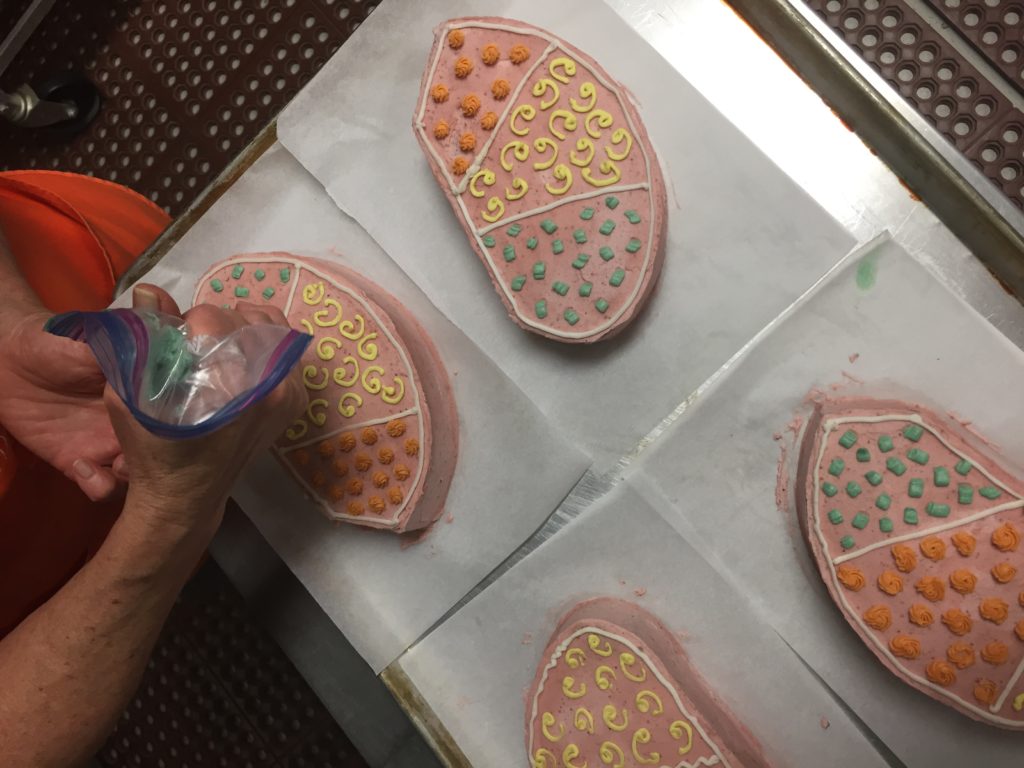
Step 5: Decorating the cakes
Fill your piping bag with white frosting and outline each cake half add two lines across to create 3 sections of the wing.
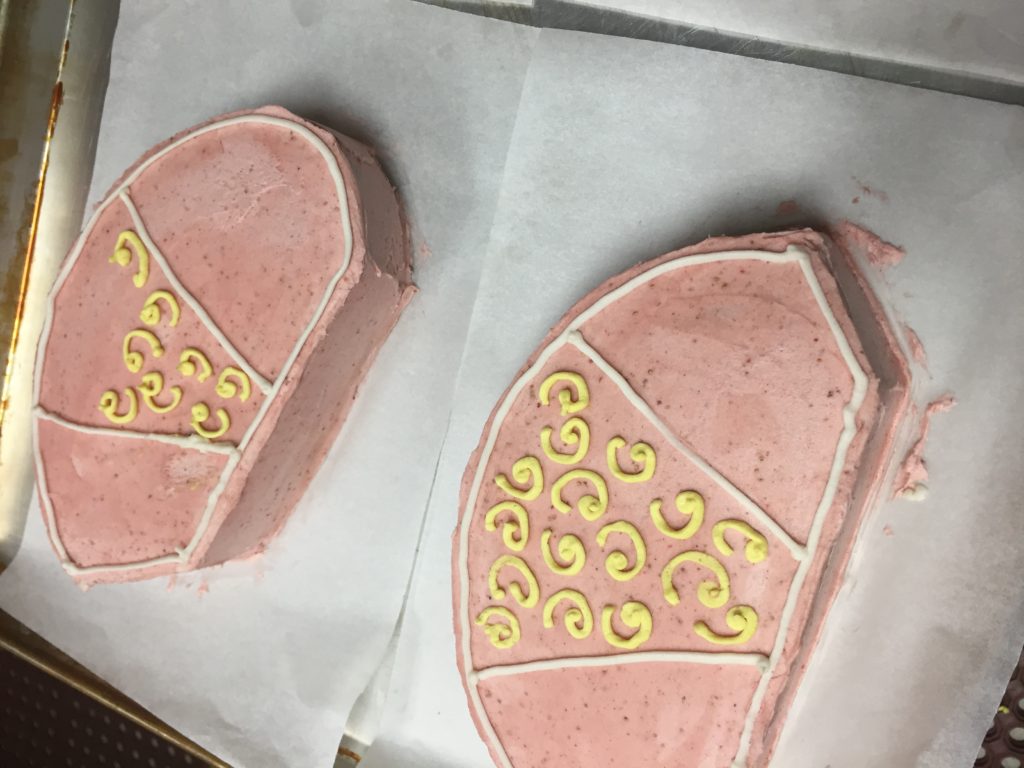
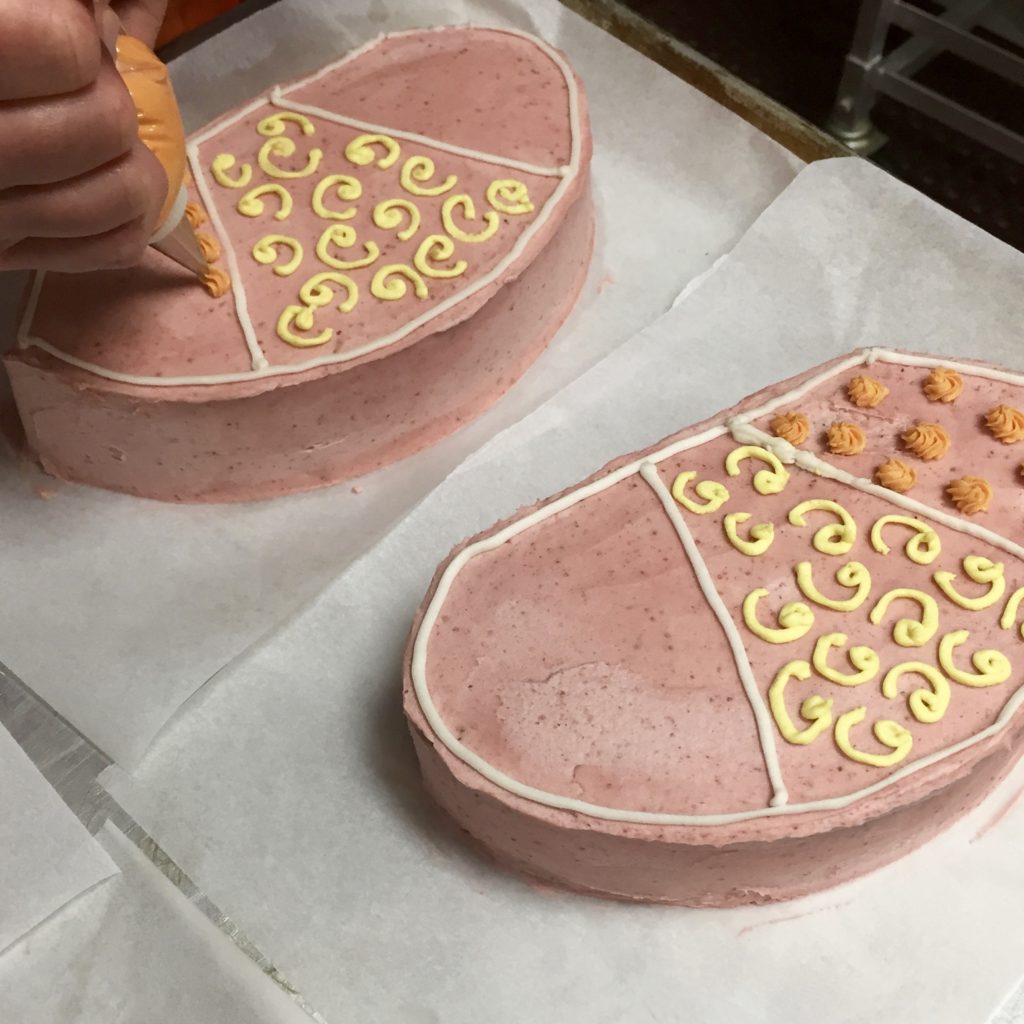
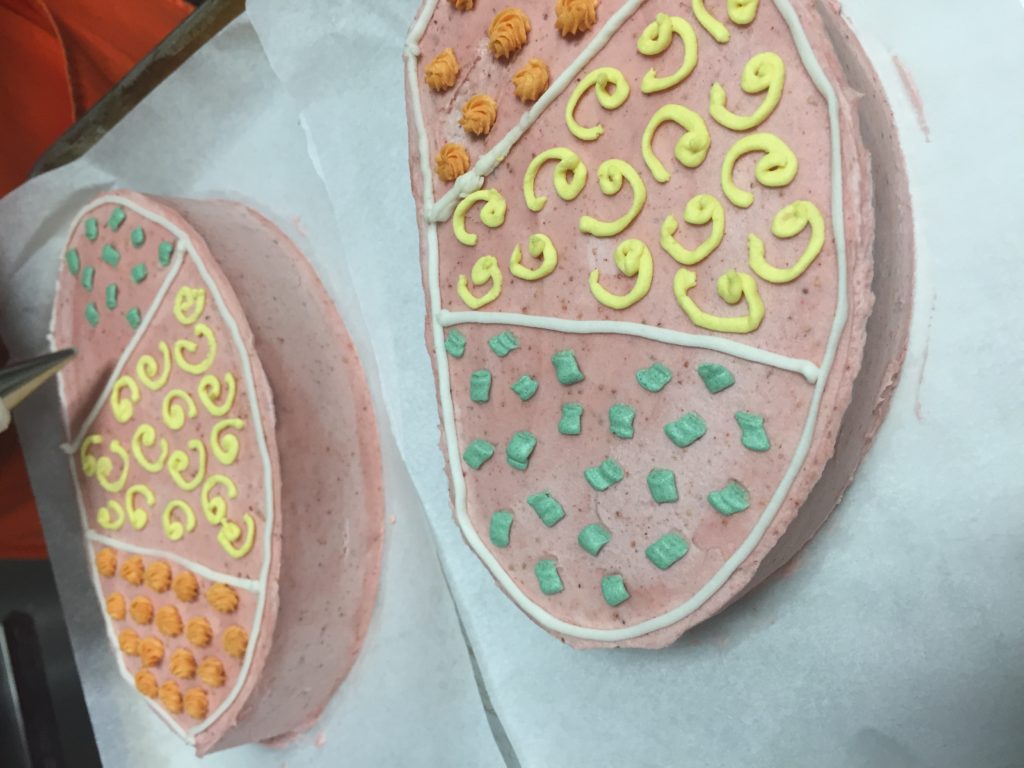
Split some of the leftover frosting into 3 separate dishes and tint them the colors of your choice we choose orange, white, and green using TruColor natural food coloring.
Fill a piping bag with one of the colors using a piping tip of your choice. Start piping in one section of the wings and mimic on the other side. Repeat this with each section and color using the design and piping tips of choice.
3/4 cups cocoa powder 1/3 cup coconut flour, sifted 1/3 cup chia seed meal 1/2 teaspoon baking soda 1/2 teaspoon baking powder 1/4 teaspoon sea salt
Wet Ingredients:
5 eggs 1 cup applesauce with no added sugar 1/4 cup honey 1 tablespoon vanilla extract 1/2 teaspoon liquid vanilla stevia 1/4 cup melted coconut oil
Directions:
Preheat your oven to 325° F.
In a mixing bowl, whisk the dry ingredients – cocoa powder, coconut flour, chia seed meal, baking soda, baking powder, and salt.
In a separate mixing bowl, use an electric mixer to combine the wet ingredients – eggs, applesauce, honey, vanilla extract, and liquid vanilla stevia, adding the melted coconut oil last.
Add the dry ingredients to the wet ingredients, and combine them with the electric mixer.
Grease the 9” round cake pans with coconut oil and place 4 unbleached paper liners in a muffin tin. Fill the cake pans and liners ¾ full with the batter.
Bake the cupcakes and cakes for about 28 minutes or until a toothpick inserted into the center comes out clean. Let them cool completely before frosting. We recommend baking the cakes the day before decorating.
Learn how to make the best paleo chicken tenders/nuggets. These are great for kids of all ages, and our recipe is completely gluten, grain, dairy, peanut, and soy free.
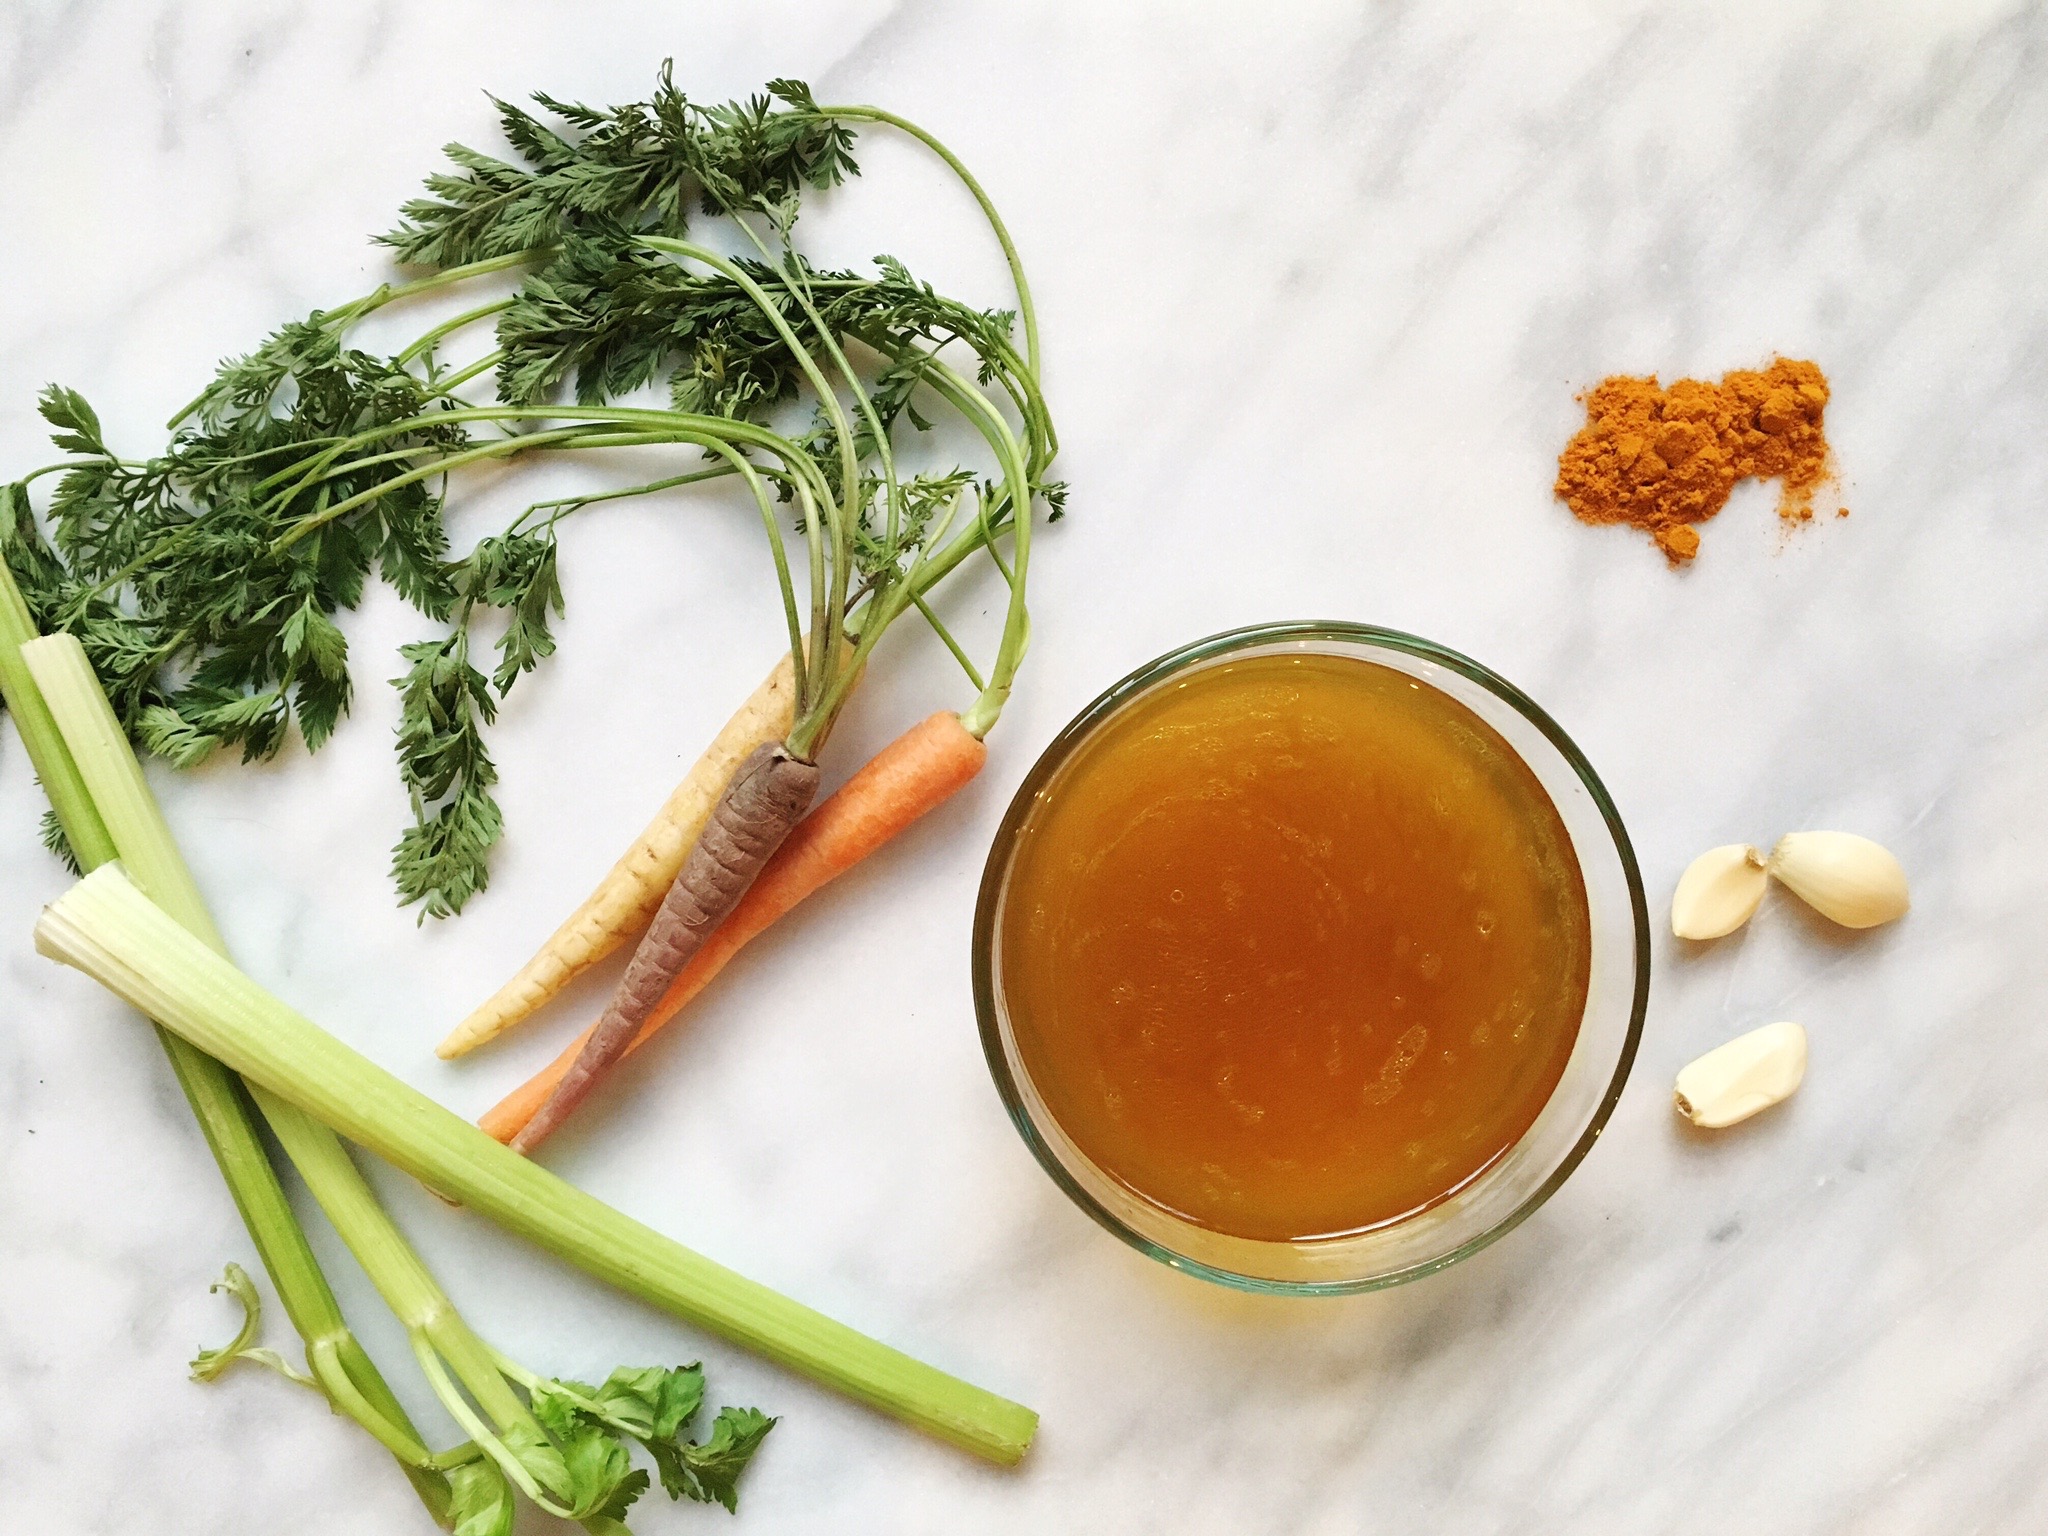
Although many of us think of broths as a way to warm up in winter, this Paleo bone broth with turmeric is the perfect way to detox and stay nourished all year. With simple ingredients and barely any prep time, you can have a large batch of bone broth to use or freeze for recipes, or simply to enjoy on its own.
Roasting pan/baking sheet large enough to fit all of the bones
Crock pot/stock pot large enough to fit your bones in
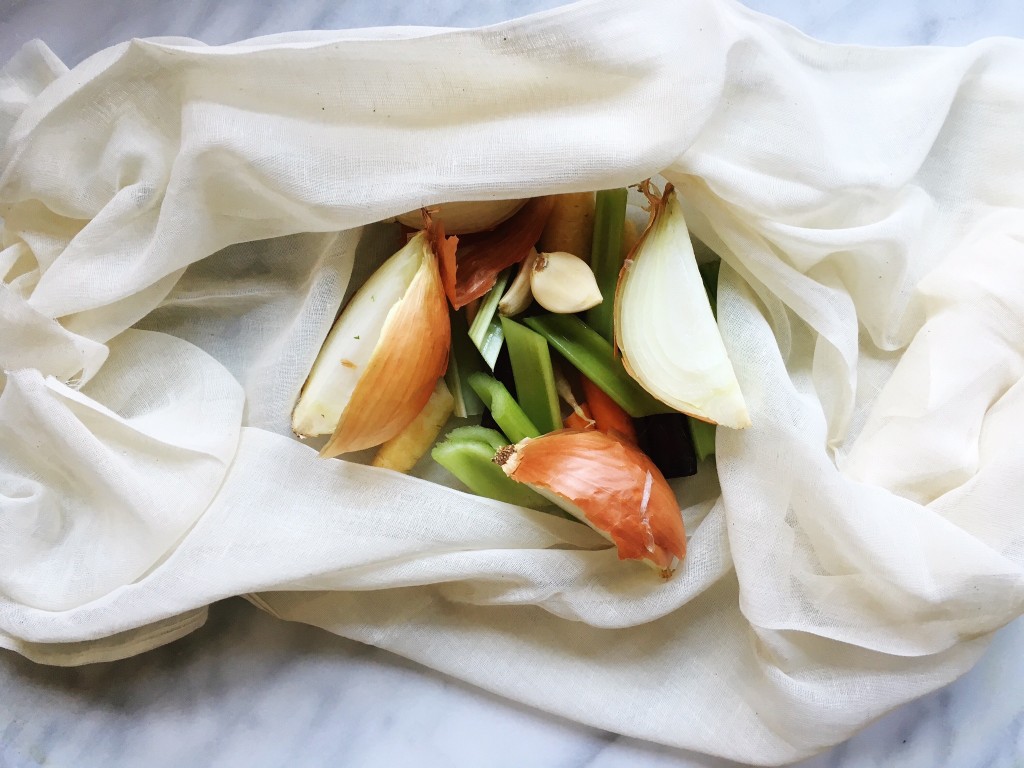
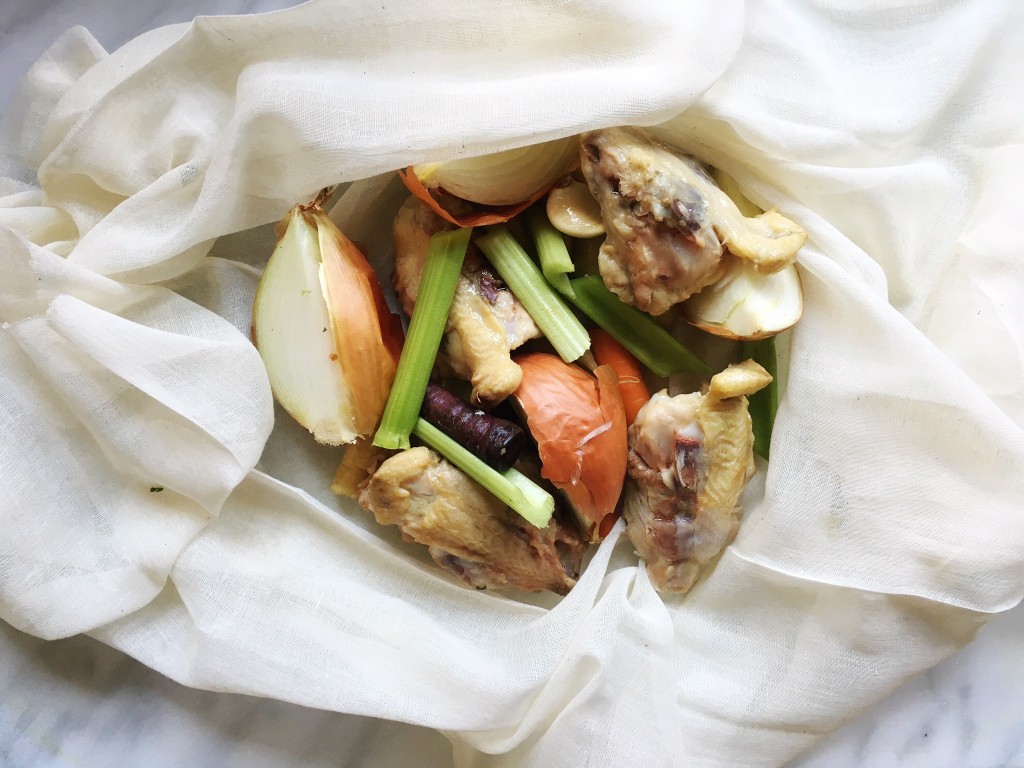
1 broth bag or you can use a piece of cheese cloth (for the vegetables)
Ingredients:
2 to 5 lbs chicken bones and chicken necks/backs, feet and liver
1 to 2 Teaspoons Granulated Garlic and Onion
Black pepper
3 to 4 bay leaves
sprig or two of thyme
1 to 3 containers ( 32 oz. ea.) ready made organic chicken broth.
Filtered Water – enough to make sure the liquid in the pot covers the bones completely
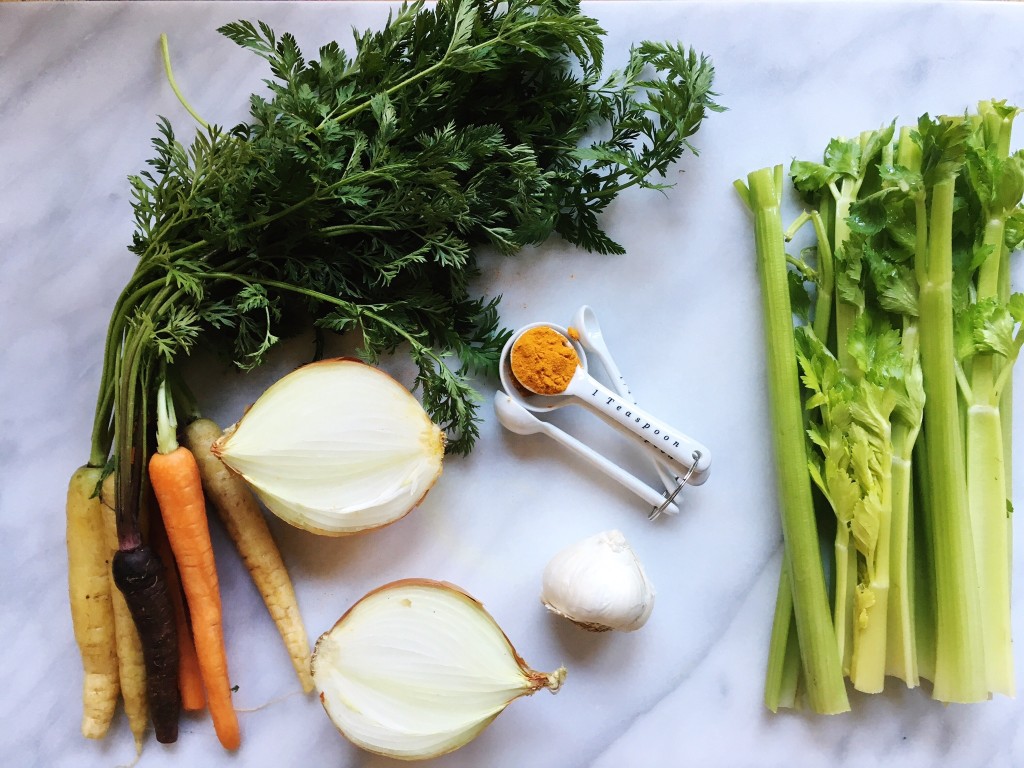
3 to 4 Carrots cleaned and cut in half
1 to 2 yellow onion quartered (you can leave the skin on it contains nutrients and gives the broth a bit of color)
4 to 5 stalks of celery cleaned and cut in half
2 to 3 cloves of garlic
Himalayan Pink Salt to taste
2 Tablespoons fresh Turmeric
Directions:
Preheat oven to 375 degrees
Place bones on your baking pan season with salt pepper granulated onion and garlic and brown in the oven for 45 minutes to an hour, you can cook longer. The browner the bones the richer tasting the broth.
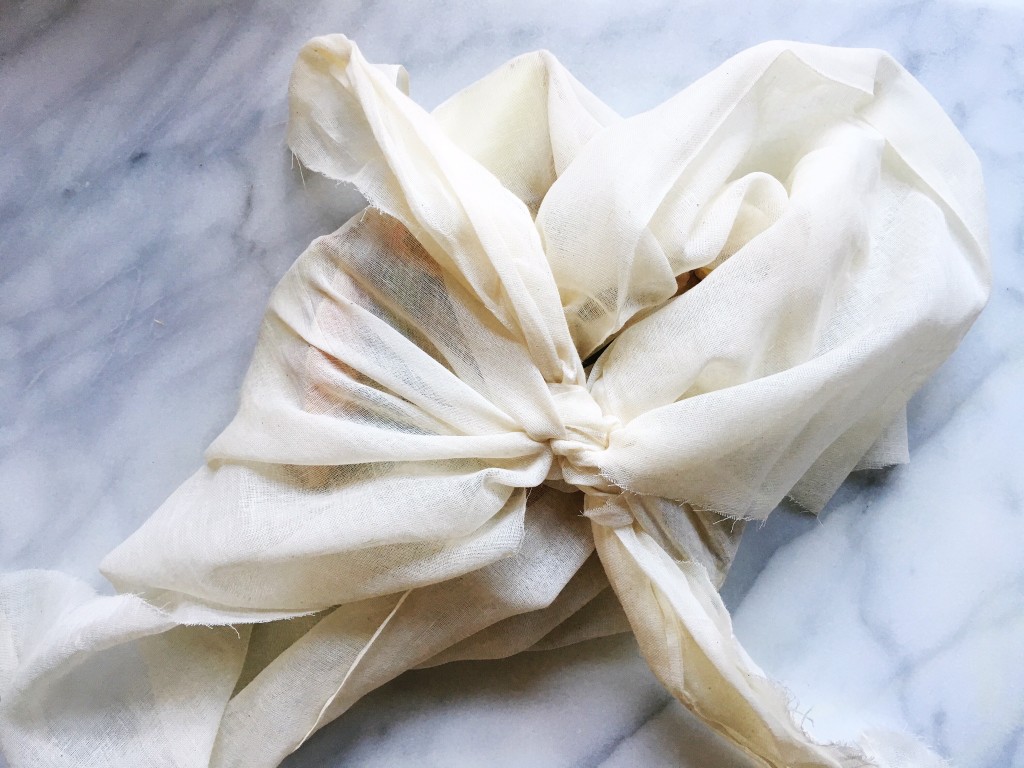
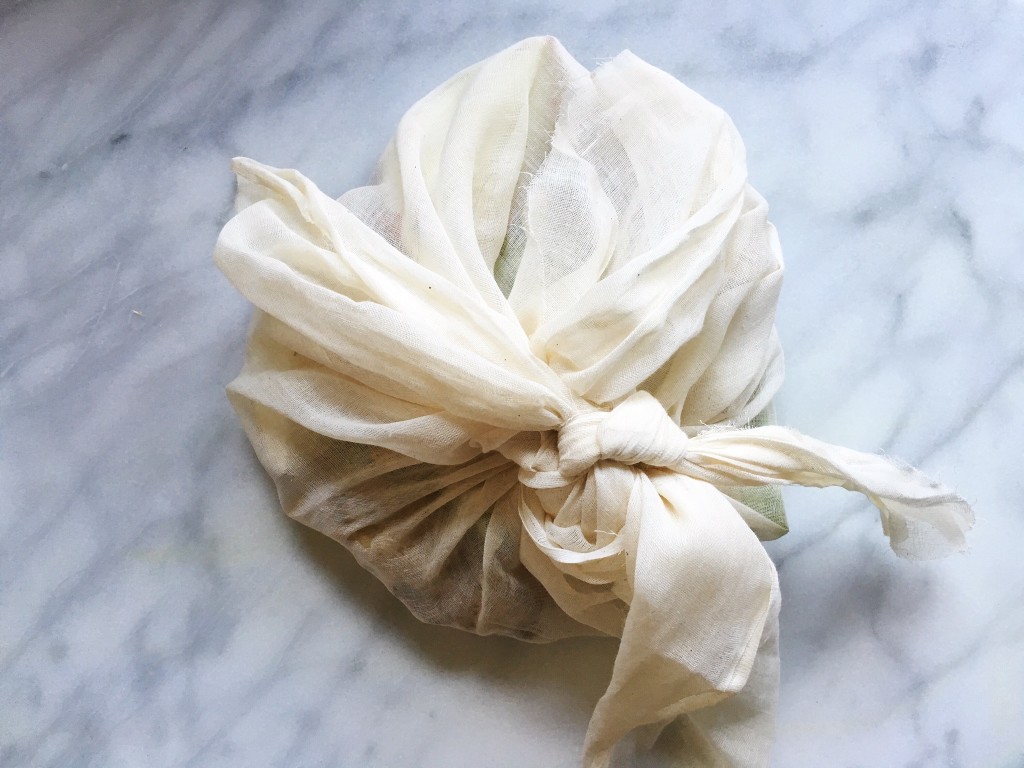
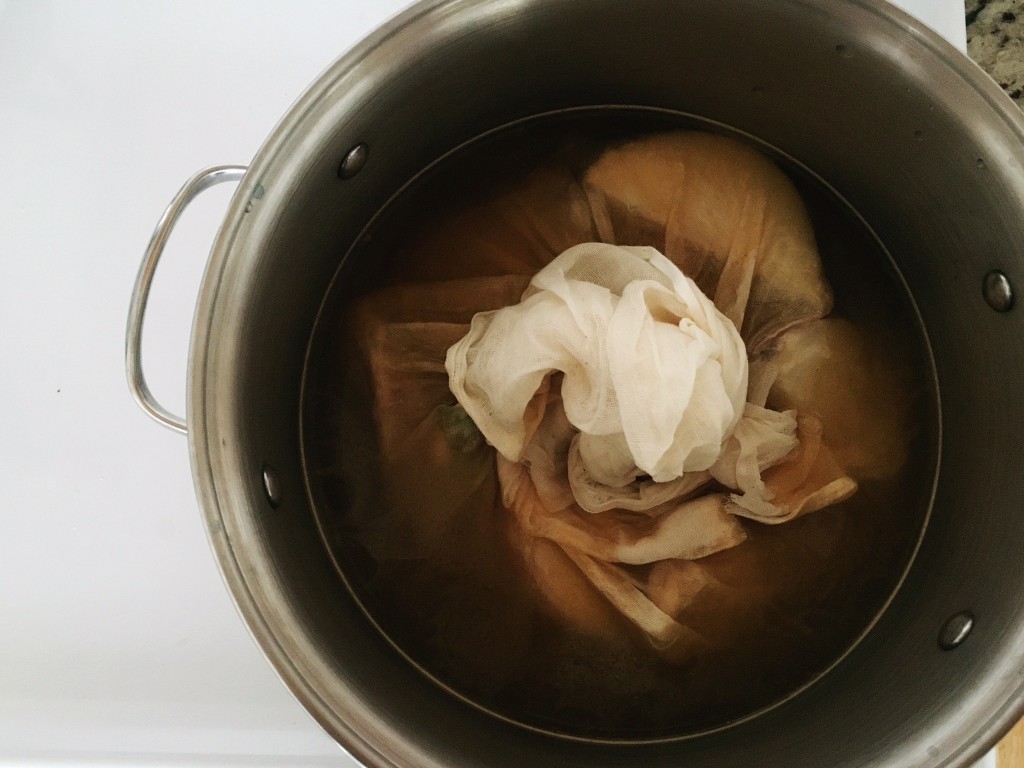
Remove bones from pan and place bones, vegetables, herbs and turmeric in cheese cloth or broth bag; make sure to tie your cheese cloth or broth bag into a tight sachet so nothing escapes
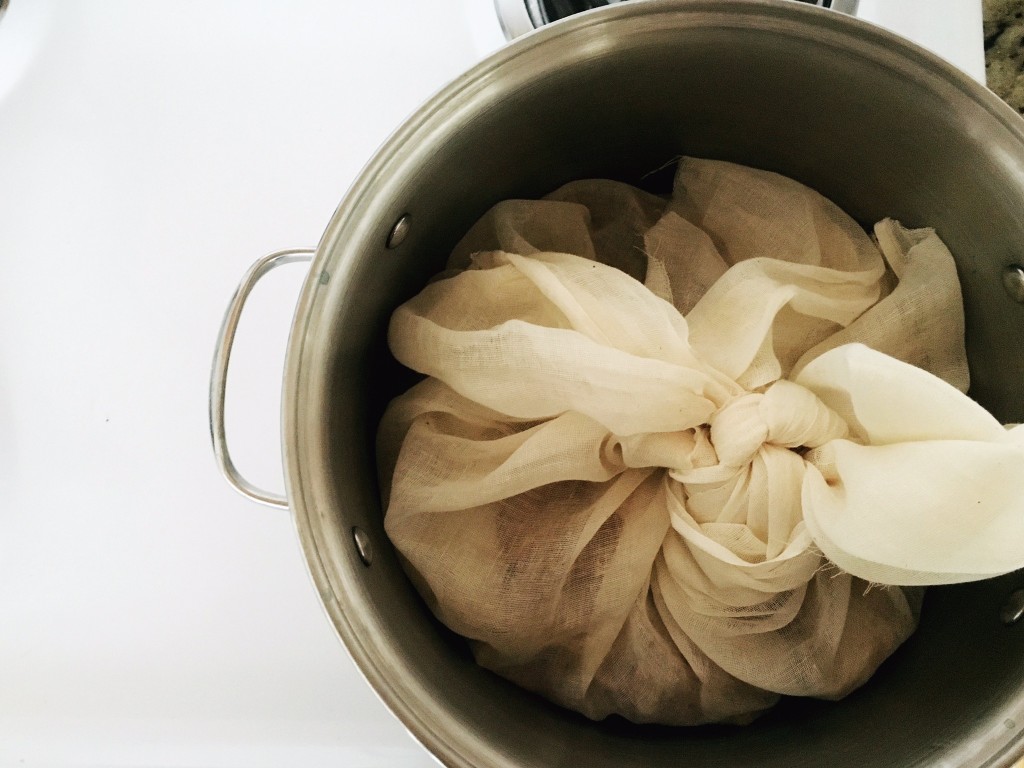
Add sachet to your pot along with the liquid
Bring pot to boil, and then reduce heat to a simmer
Let simmer until the liquid has been reduced about 1/4, this will take about 6 to 10 hours on the stove or about 4 to 5 hours in a crock pot This recipe can also be used in an Instant pot, however cooking time will be much reduced.
Remove from heat, add salt to taste and cool; You can then serve immediately or place into containers and freeze.
We like to use an* ice cube tray to freeze the bone broth in so that when we need it we’ll have it available quickly and only in the serving size we need. This is also a great idea for those of your who live alone or just want a quick pick me up during cold and flu season.
*When the broth is frozen then you can remove them from the ice cube tray and store in a zipper seal bag. Each compartment in an ice cube tray holds about 2 ounces.
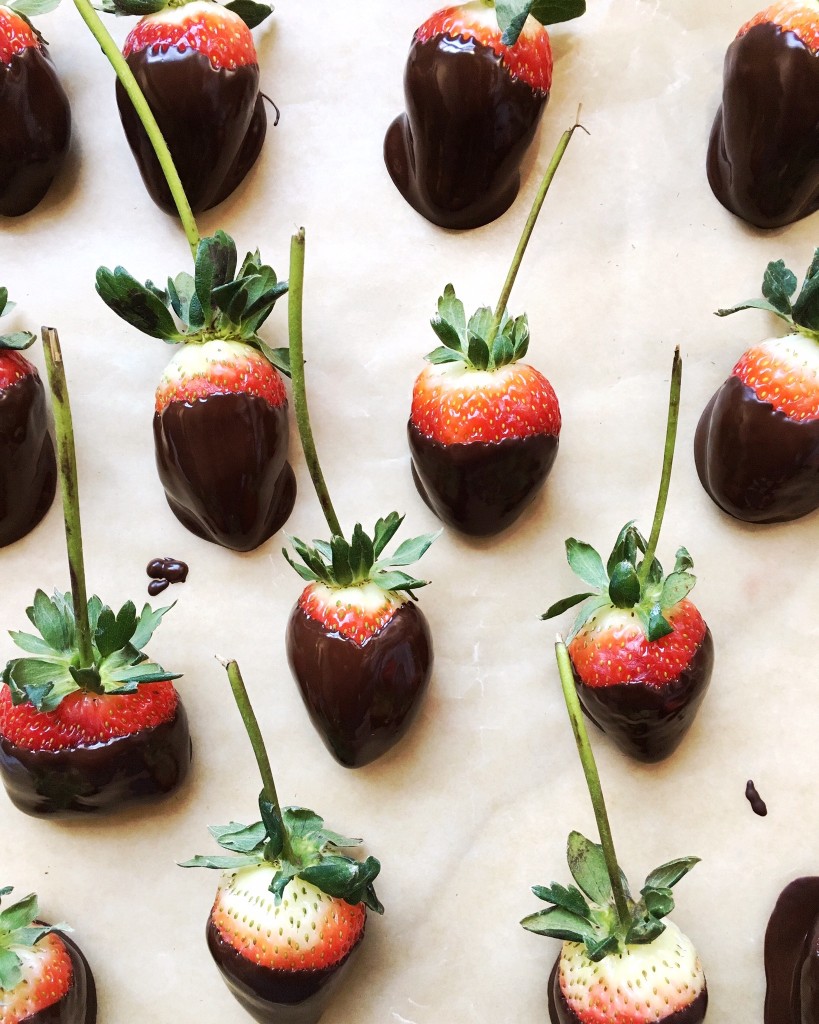
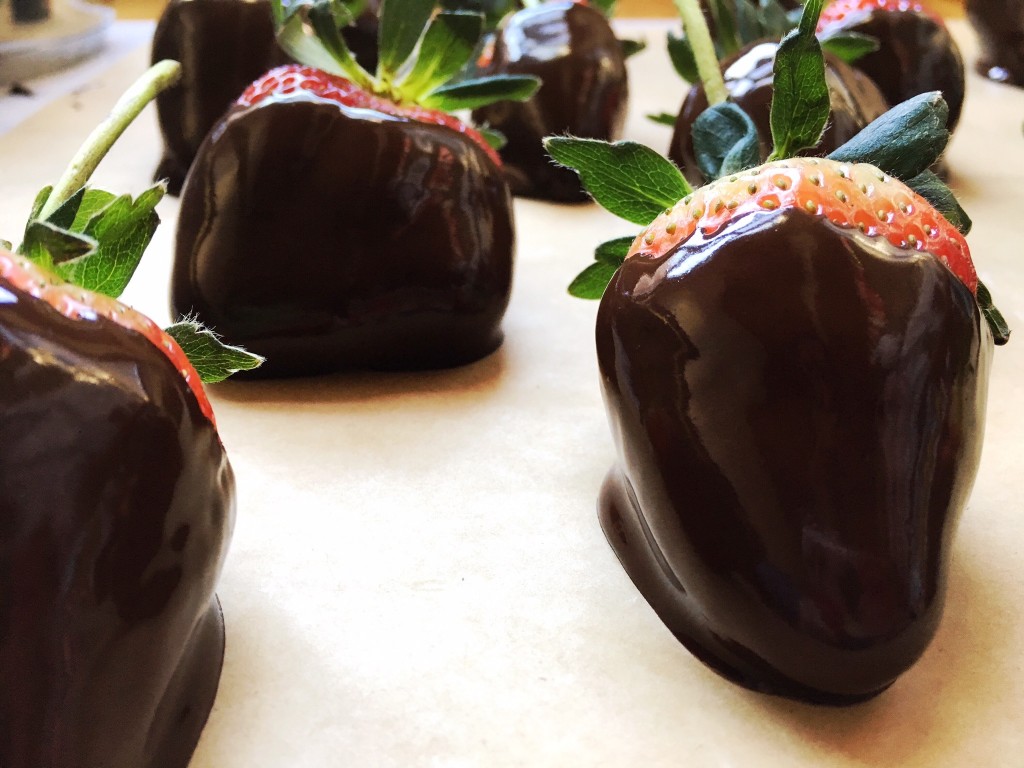
Sometimes holidays, especially Valentine’s Day, can sneak up on you leaving you empty-handed. We’re here to the rescue with a last-minute treat that’s sure to wow without the long lines and nine-dollar-per-berry price tag. Our recipe also takes out the risk factor of “may have come in contact with nuts” because we used Enjoy Life nut, dairy, gluten, and soy-free chocolate as our melt. To make things even easier, everything you to make these chocolate-covered strawberries need can be found in a trip to Target.
Ingredients & Supplies:
Double boiler (or small saucepan and glass bowl like we used)
Silicone spatula
Enjoy life dark chocolate morsels
Fresh strawberries
Wax paper (ABSOLUTELY ESSENTIAL)
Directions:
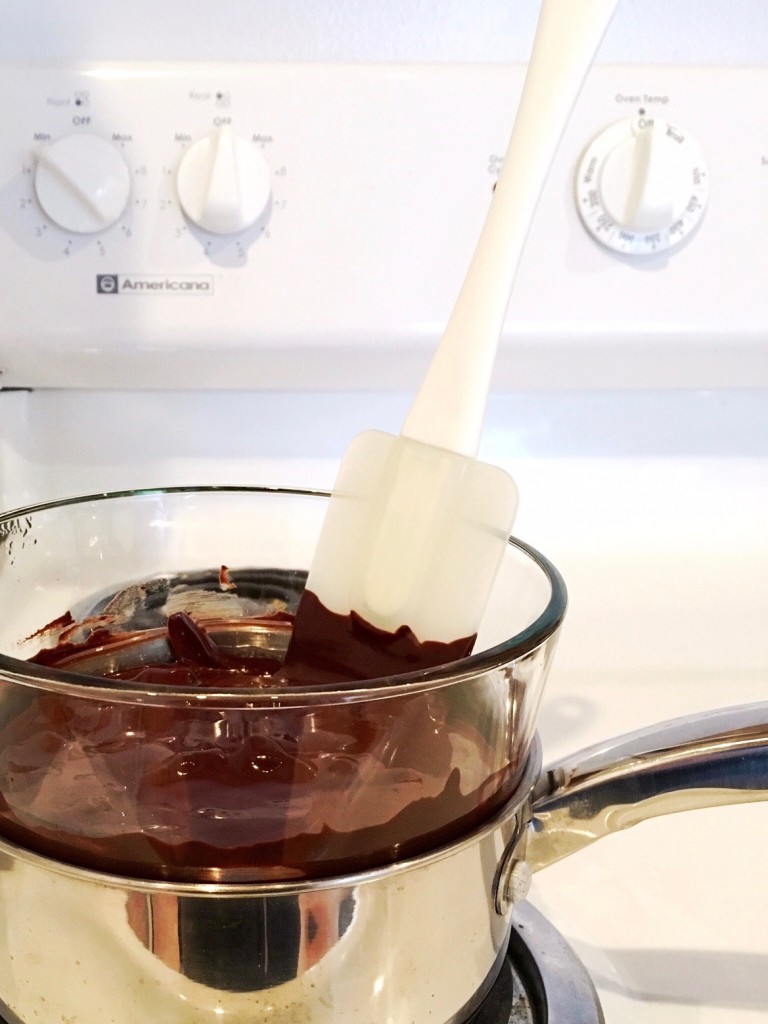
Heat water over medium heat until it starts to simmer then turn the burner to low heat
Place double boiler or glass bowl on top and heat for approximately 5 minutes
Place ingredients into the top pan or glass bowl
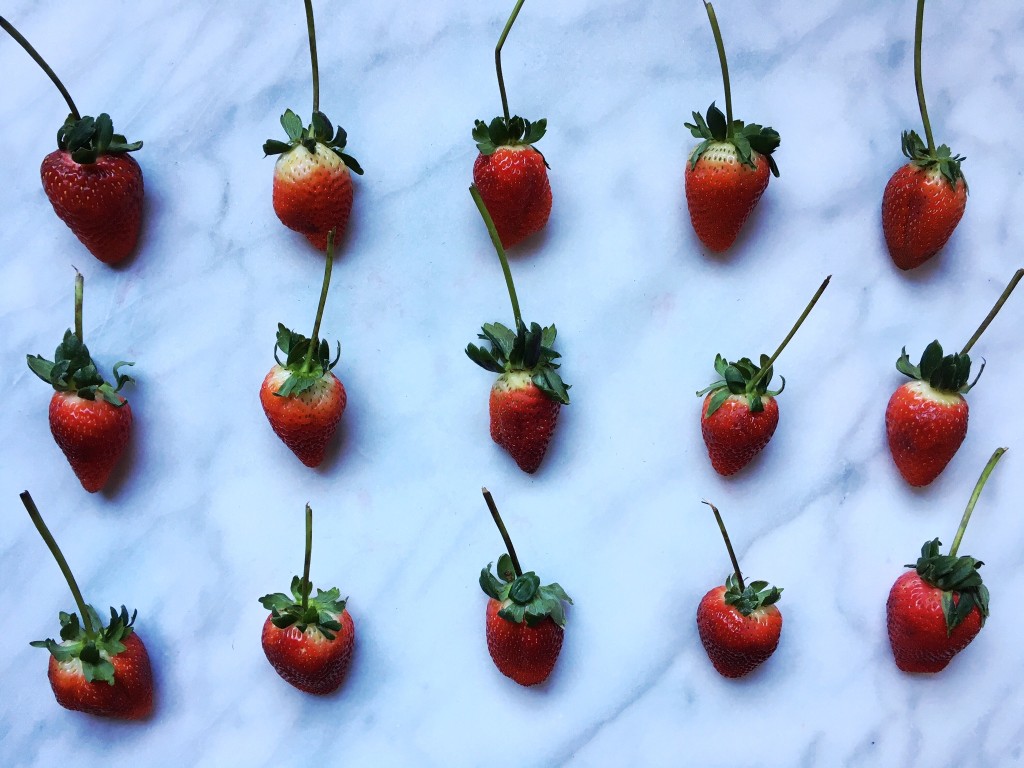
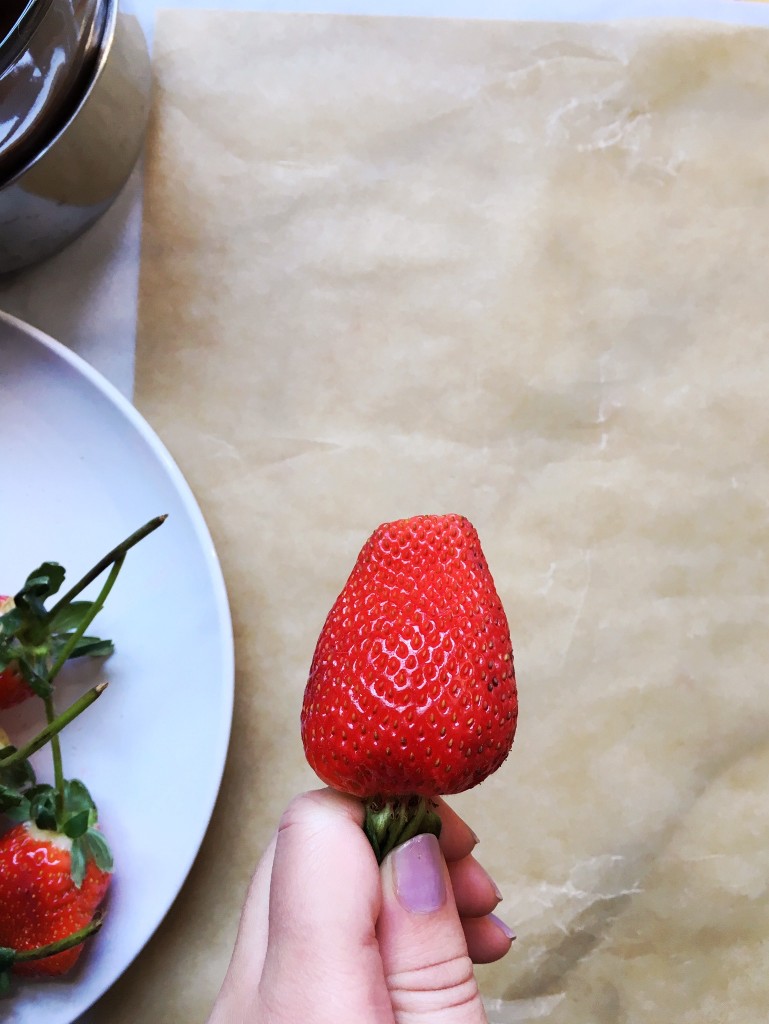
Wash your strawberries and make sure to dry each one with a paper towel
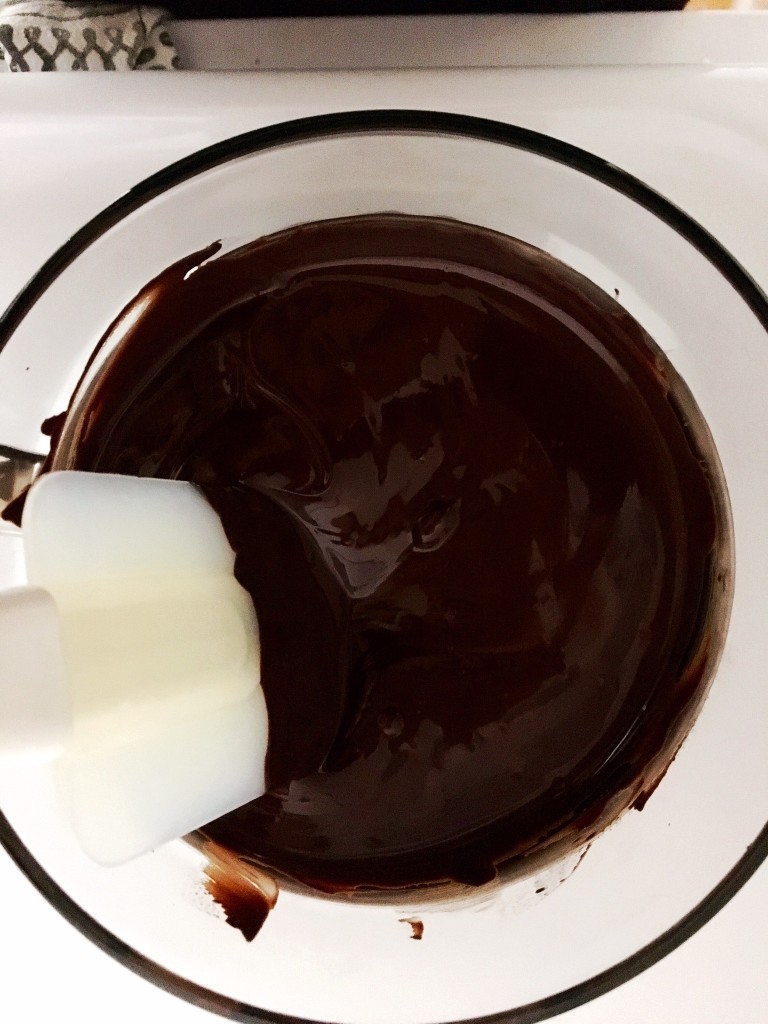
Melt all ingredients in the top of a double boiler until completely smooth
Stir occasionally until all is melted stir frequently to make sure the chocolate is completely melted, combined, and smooth
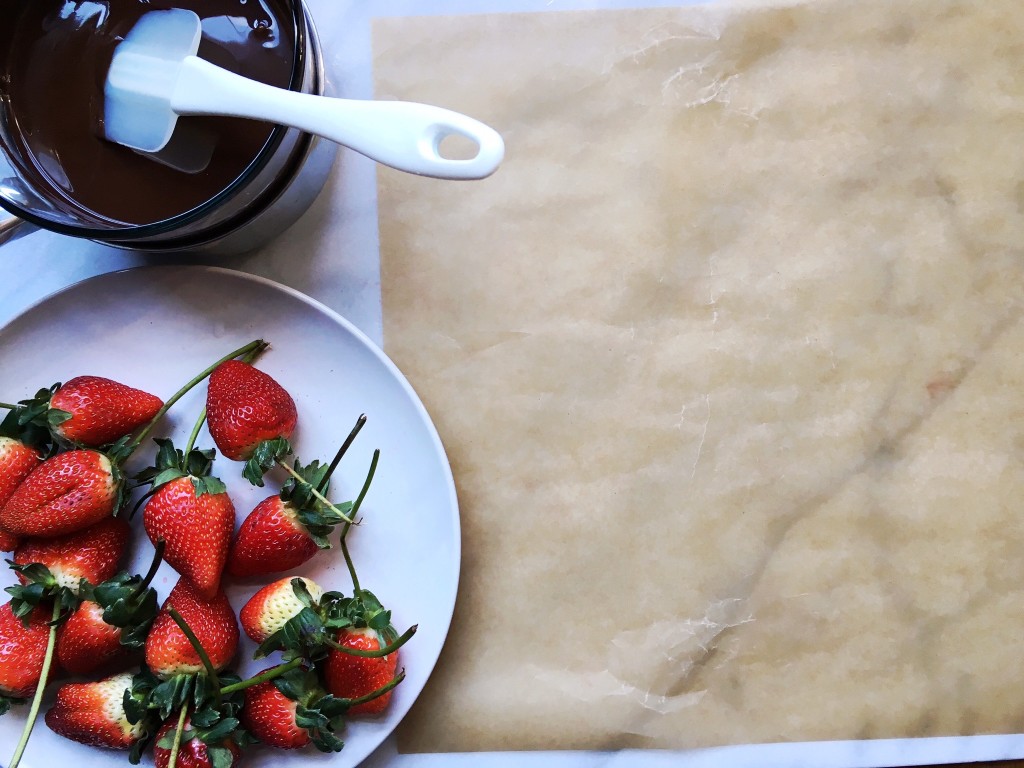
Prepare the dipping area with your washed berries and a large sheet of wax paper; the wax paper ensures perfect-looking berries by making them easy to remove
Remove the pan from the heat and place near your dipping surface
Grasp the berries by the stem and leaves for a clean dip
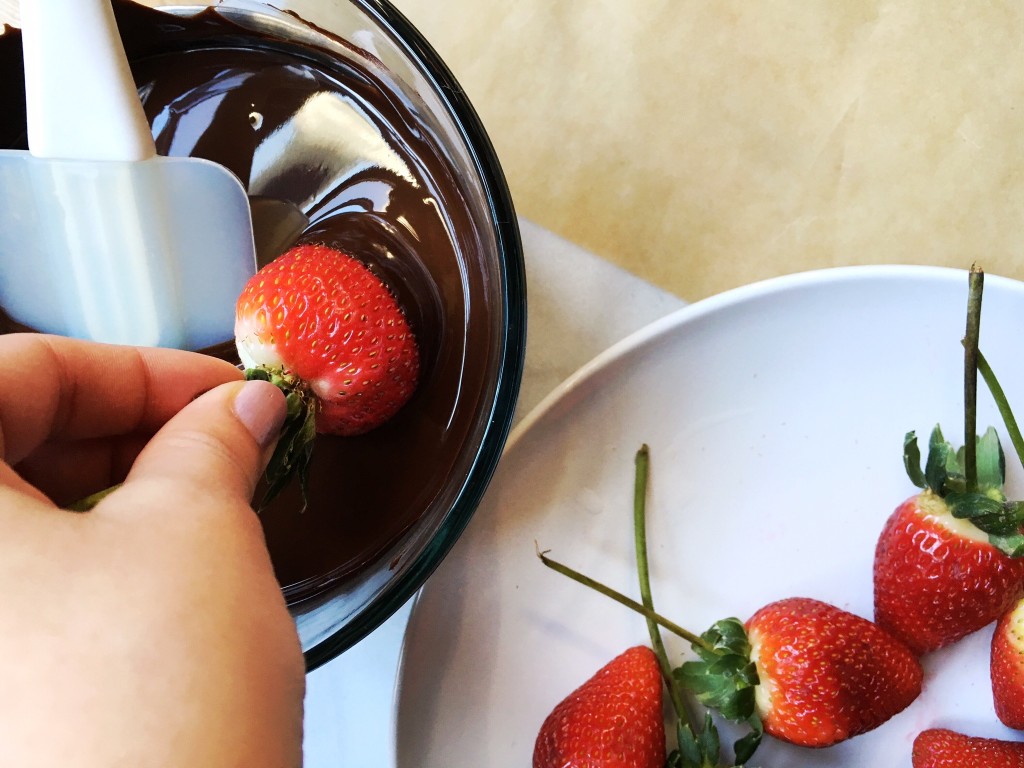
Swirl the berry in your melted chocolate vs just dunking; this allows for an even coating
Flick the berry upward to stop the dripping of chocolate
Allow berries to rest at room temperature to dry. DO NOT stick your berries in the refrigerator or freezer to set; this will cause them to get a white coating or “bloom” which is the uneven settling of the fat in the chocolate at the surface
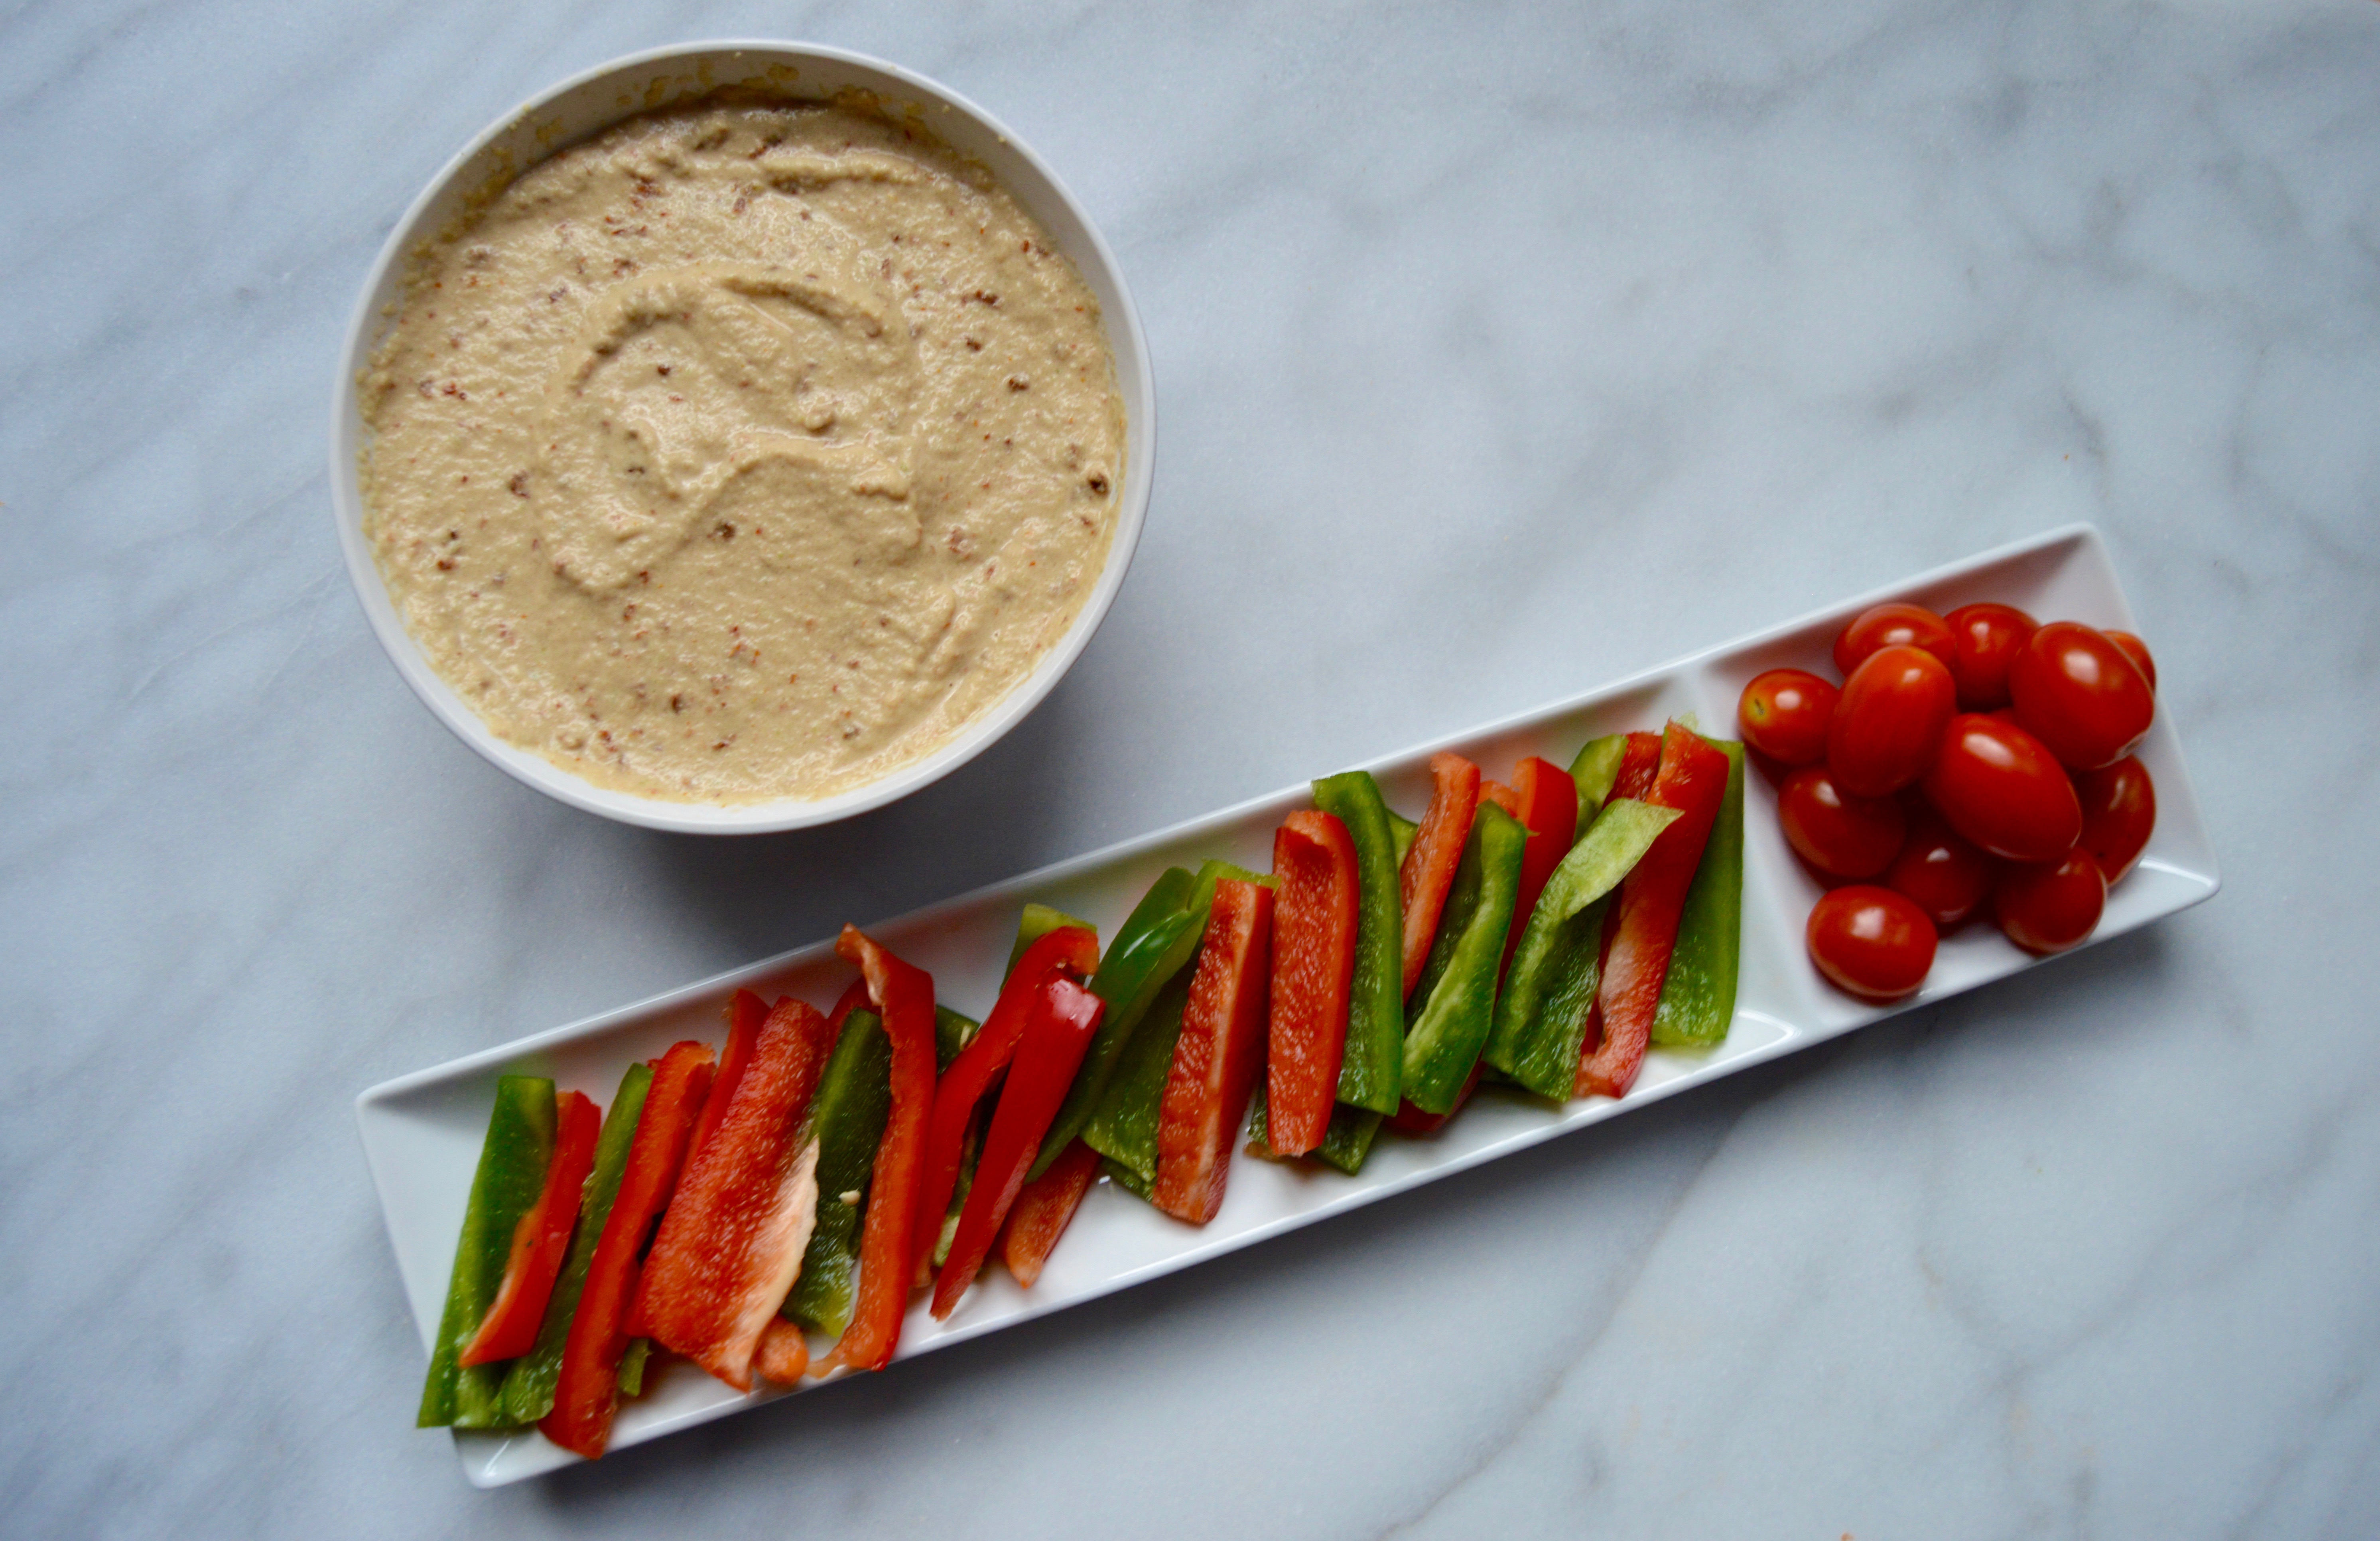
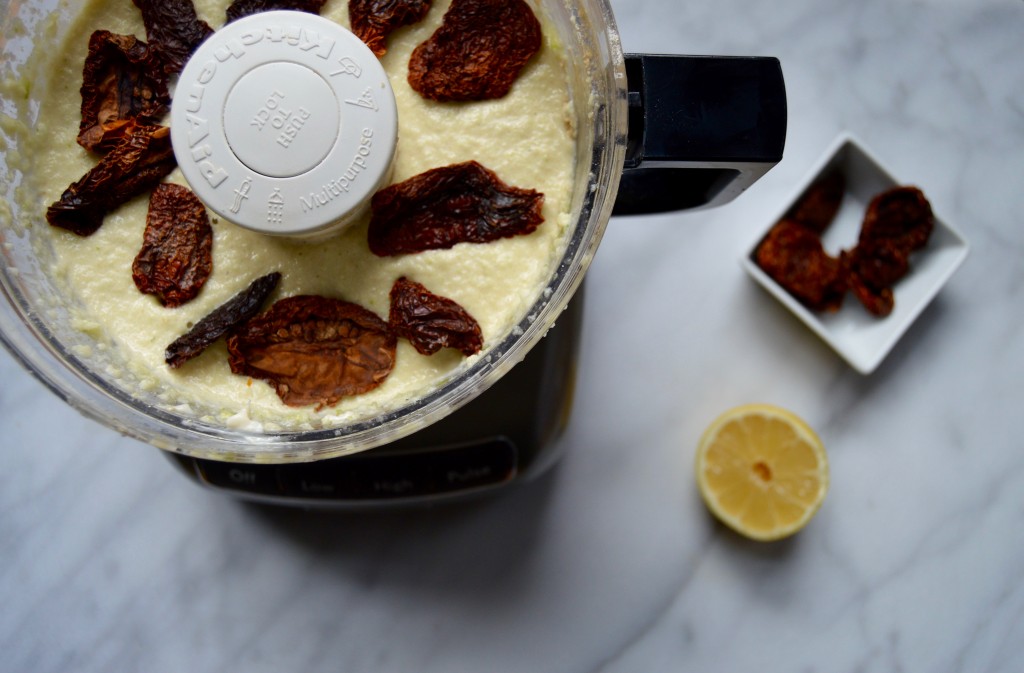
The Super Bowl is one of those occasions where it’s hard to stay within your dietary needs and junk food is lurking everywhere. We whipped up this bean-free hummus recipe to pair perfectly with our crackers or yummy cut up veggies, all while being gluten-free, dairy-free, soy-free, and peanut-free.
Ingredients:
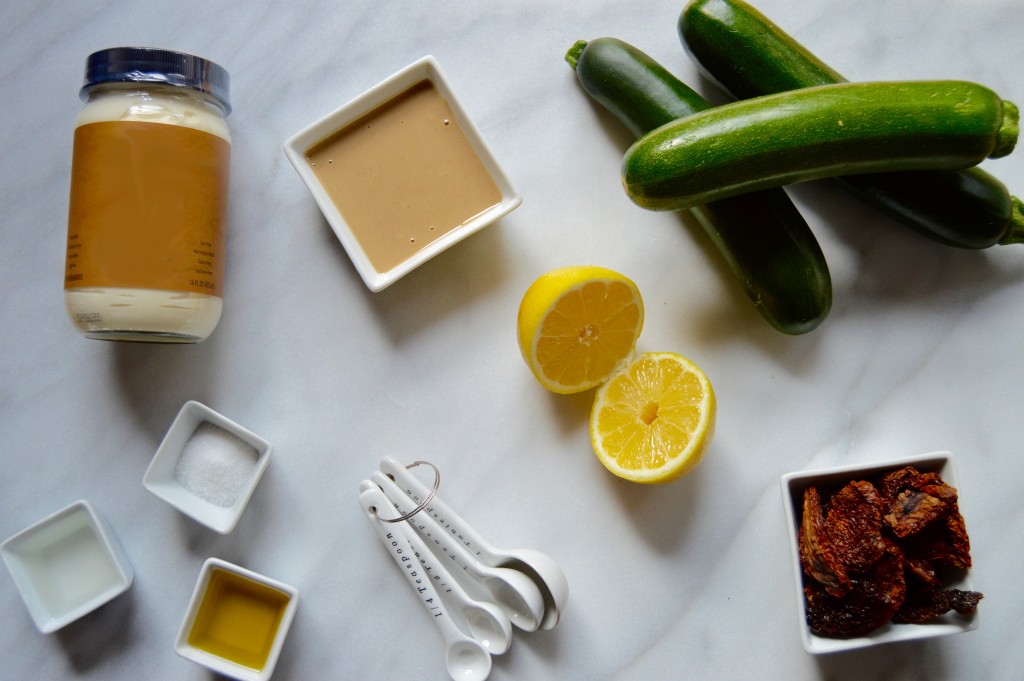
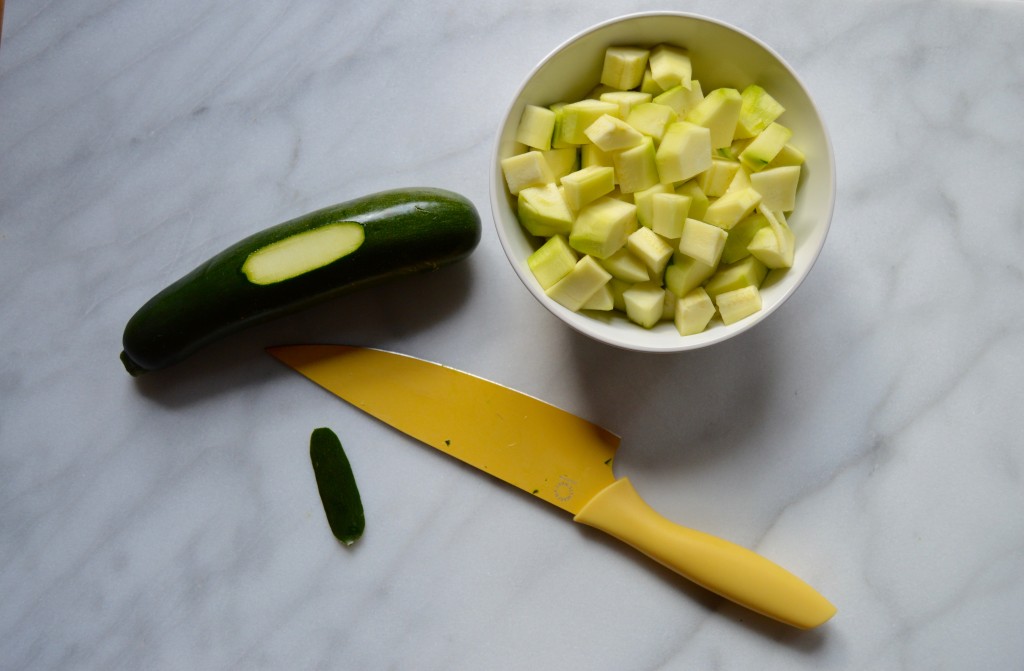
6 zucchini – peeled and cut into 1/2 inch pieces
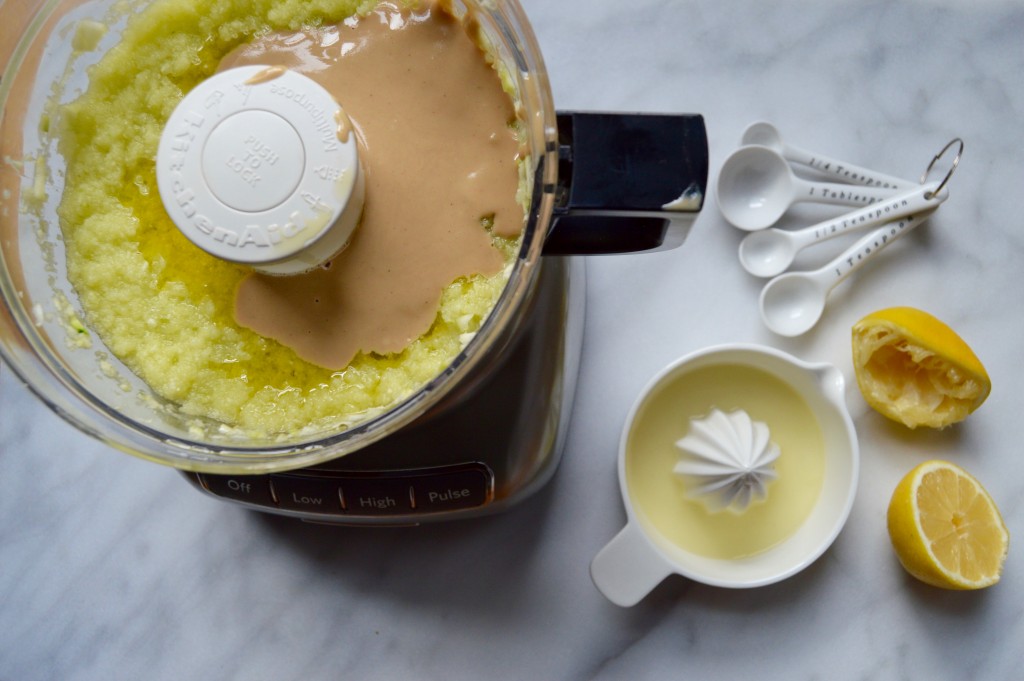
1/3 cup organic tahini
3 tablespoons avocado oil or olive oil
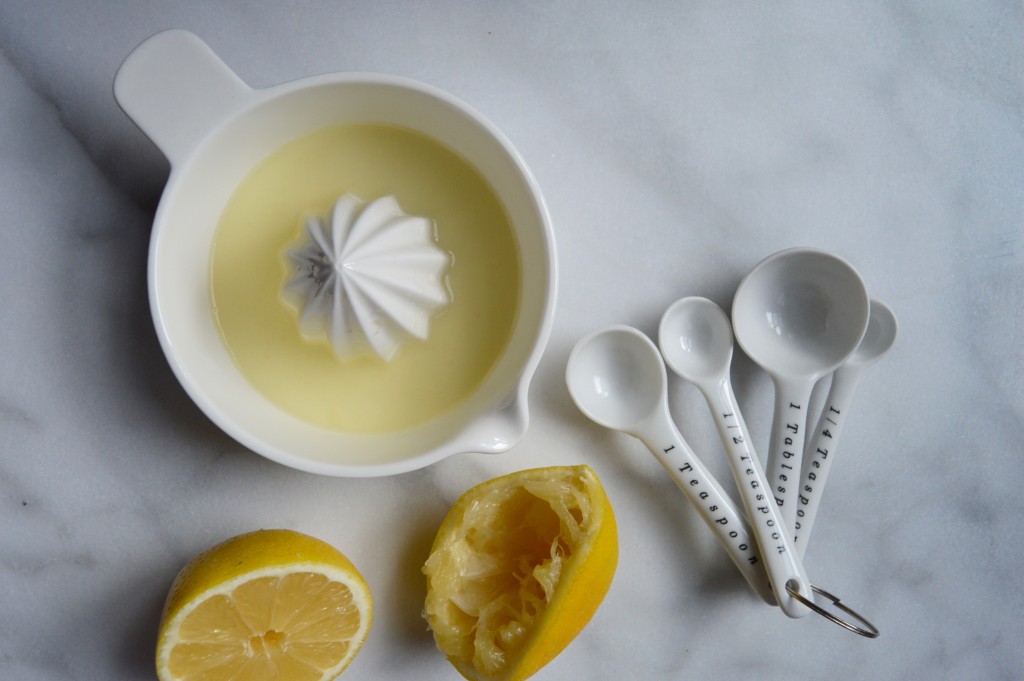
3 tablespoons lemon juice
1 3/4 teaspoon sea salt
1 1/2 teaspoon vinegar
3 tablespoons soy free mayonnaise
1/3 cup sun dried tomatoes (dried tomatoes, not oil packed)
(P.S.: You can easily halve this recipe like we did for our shoot!)
Directions:
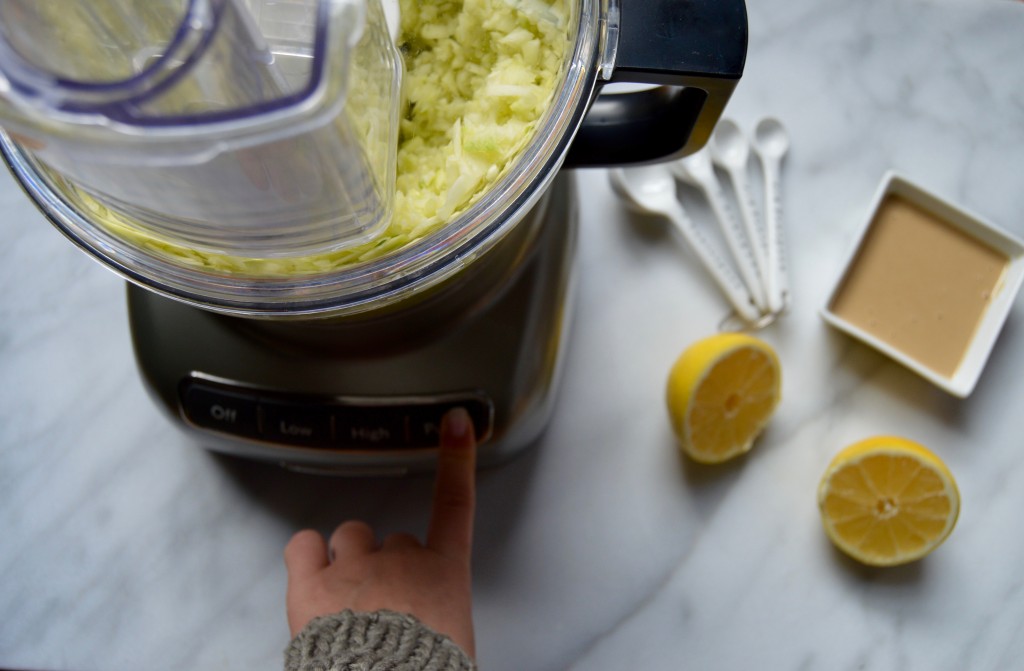
Peel and slice zucchini place in a bowl of a food processor
Pulse until zucchini is smooth
Add tahini, avocado oil, lemon juice and vinegar and pulse until incorporated
Cut sun dried tomatoes into small pieces
Add sun dried tomatoes, salt and then mayonnaise and process until all is smooth
Place Hummus in a serving bowl and refrigerate until ready to use